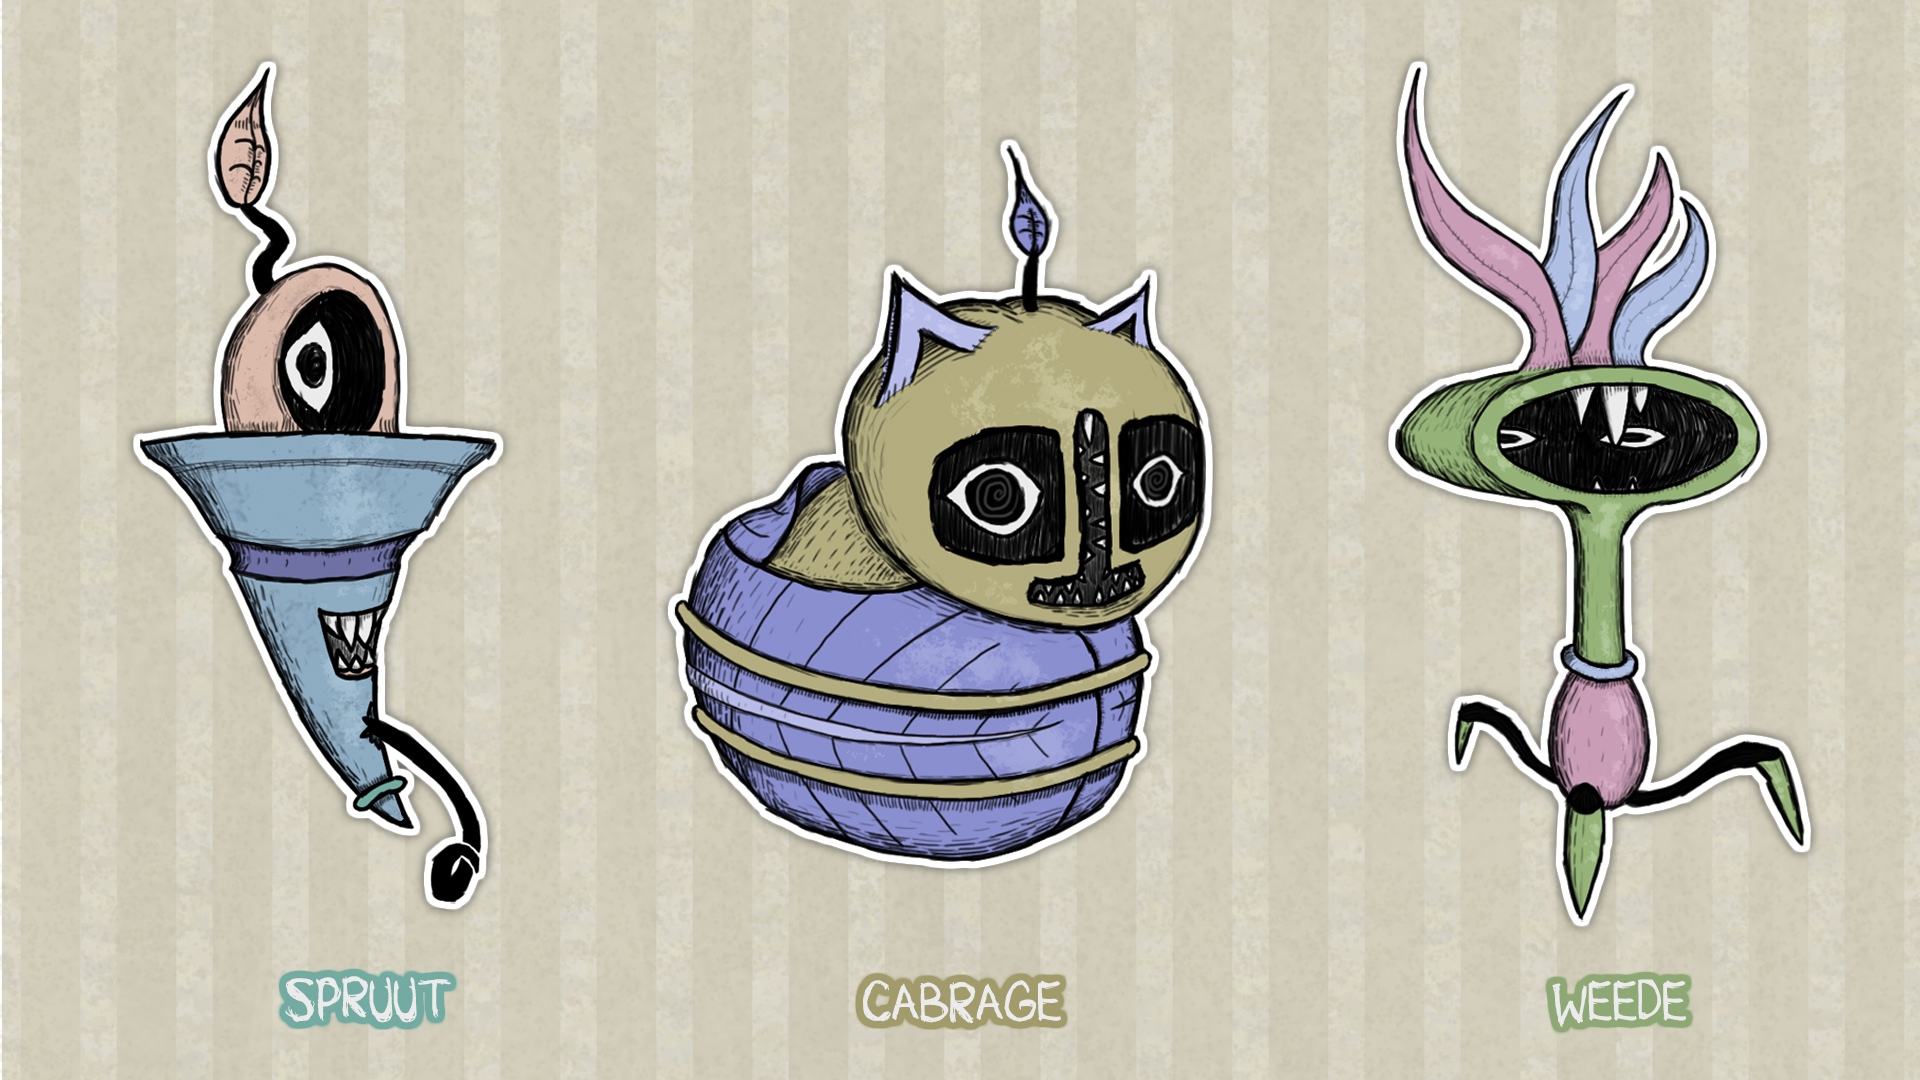
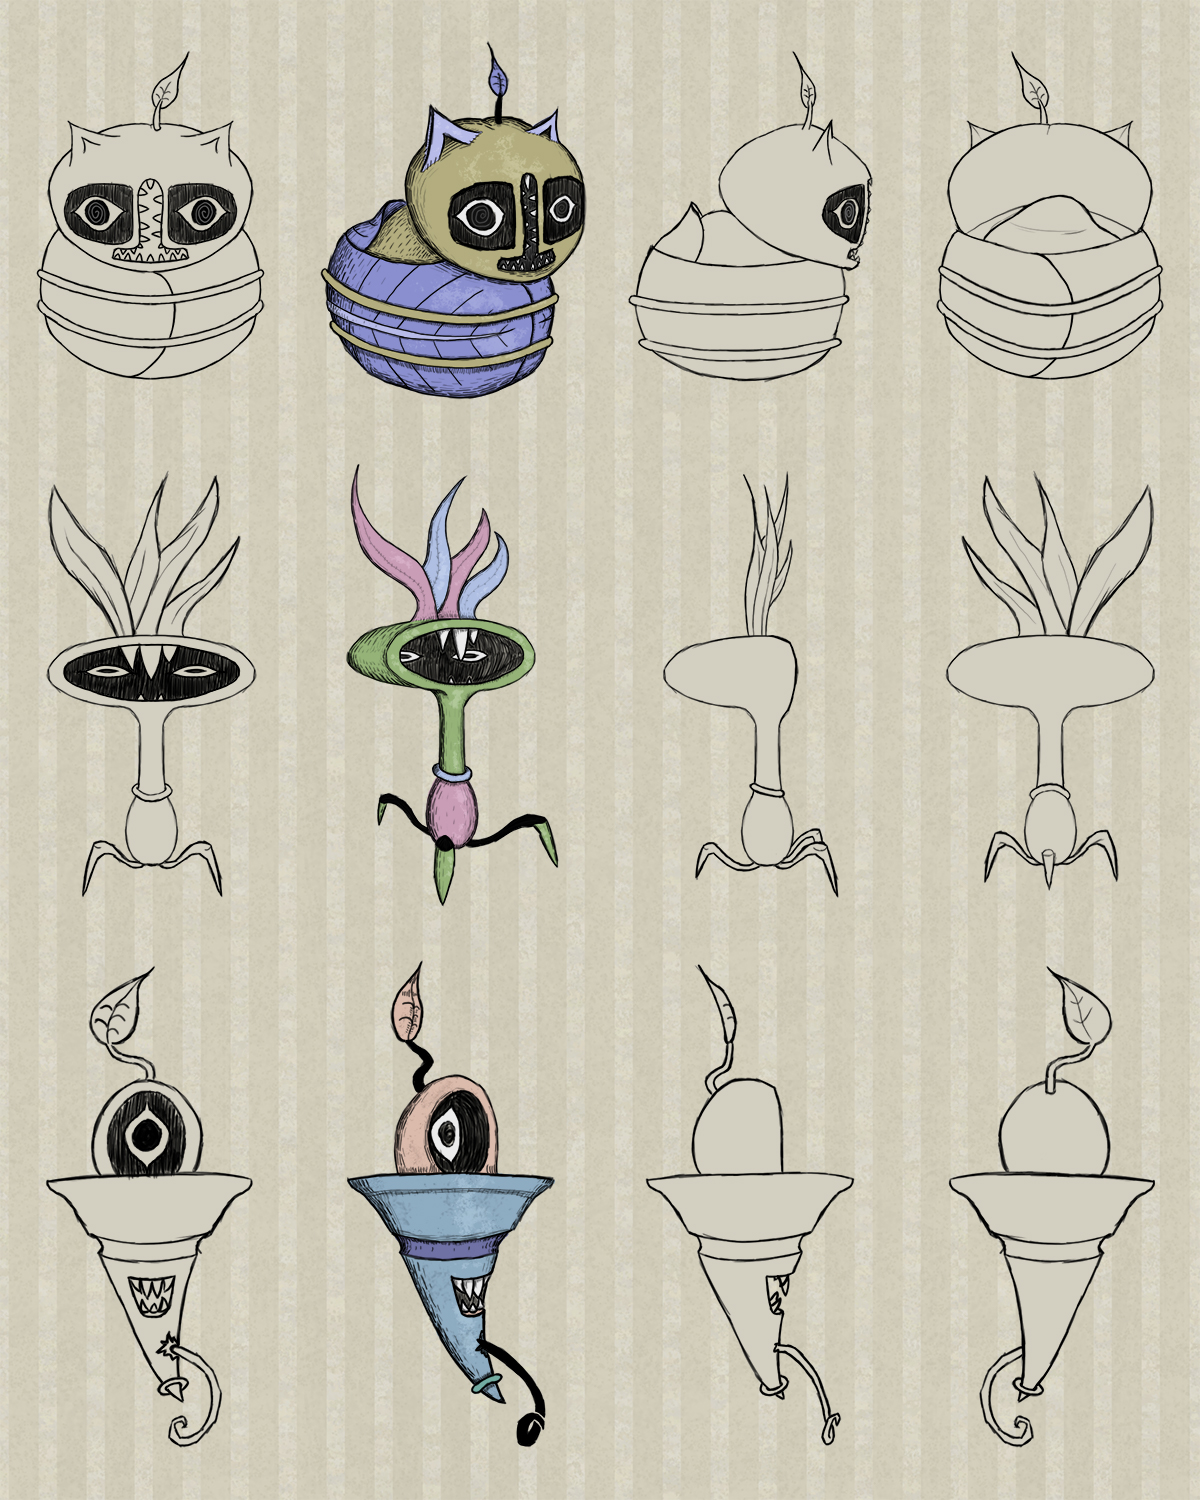
Final - Horizontal line-up composition
The monster bunch
Designing a 2D character set
Intent
Goal
Software
Improve: Artistic skills, Iteration process.
A small set of 2D characters concept, using vertical/horizontal iteration.
Skills improved
- Photoshop
- Digital drawing & sketching
- Analysing art styles & creating style guides
- Reproducing specific art styles
- Getting interesting concept through horizontal/vertical iteration
- Colours & Using colour schemes
- Shading using line/hatching technique
- Converting peer reviews & critique into design improvements
Improving artistic skills
Starting from barely any experience in drawing and artistic workflow processes, this project was to further improve my artistic skills. To train in getting interesting concepts, I used a horizontal/vertical iteration process. Side goal of this project was to use an interesting style so I could improve on style analysis & reproduction.
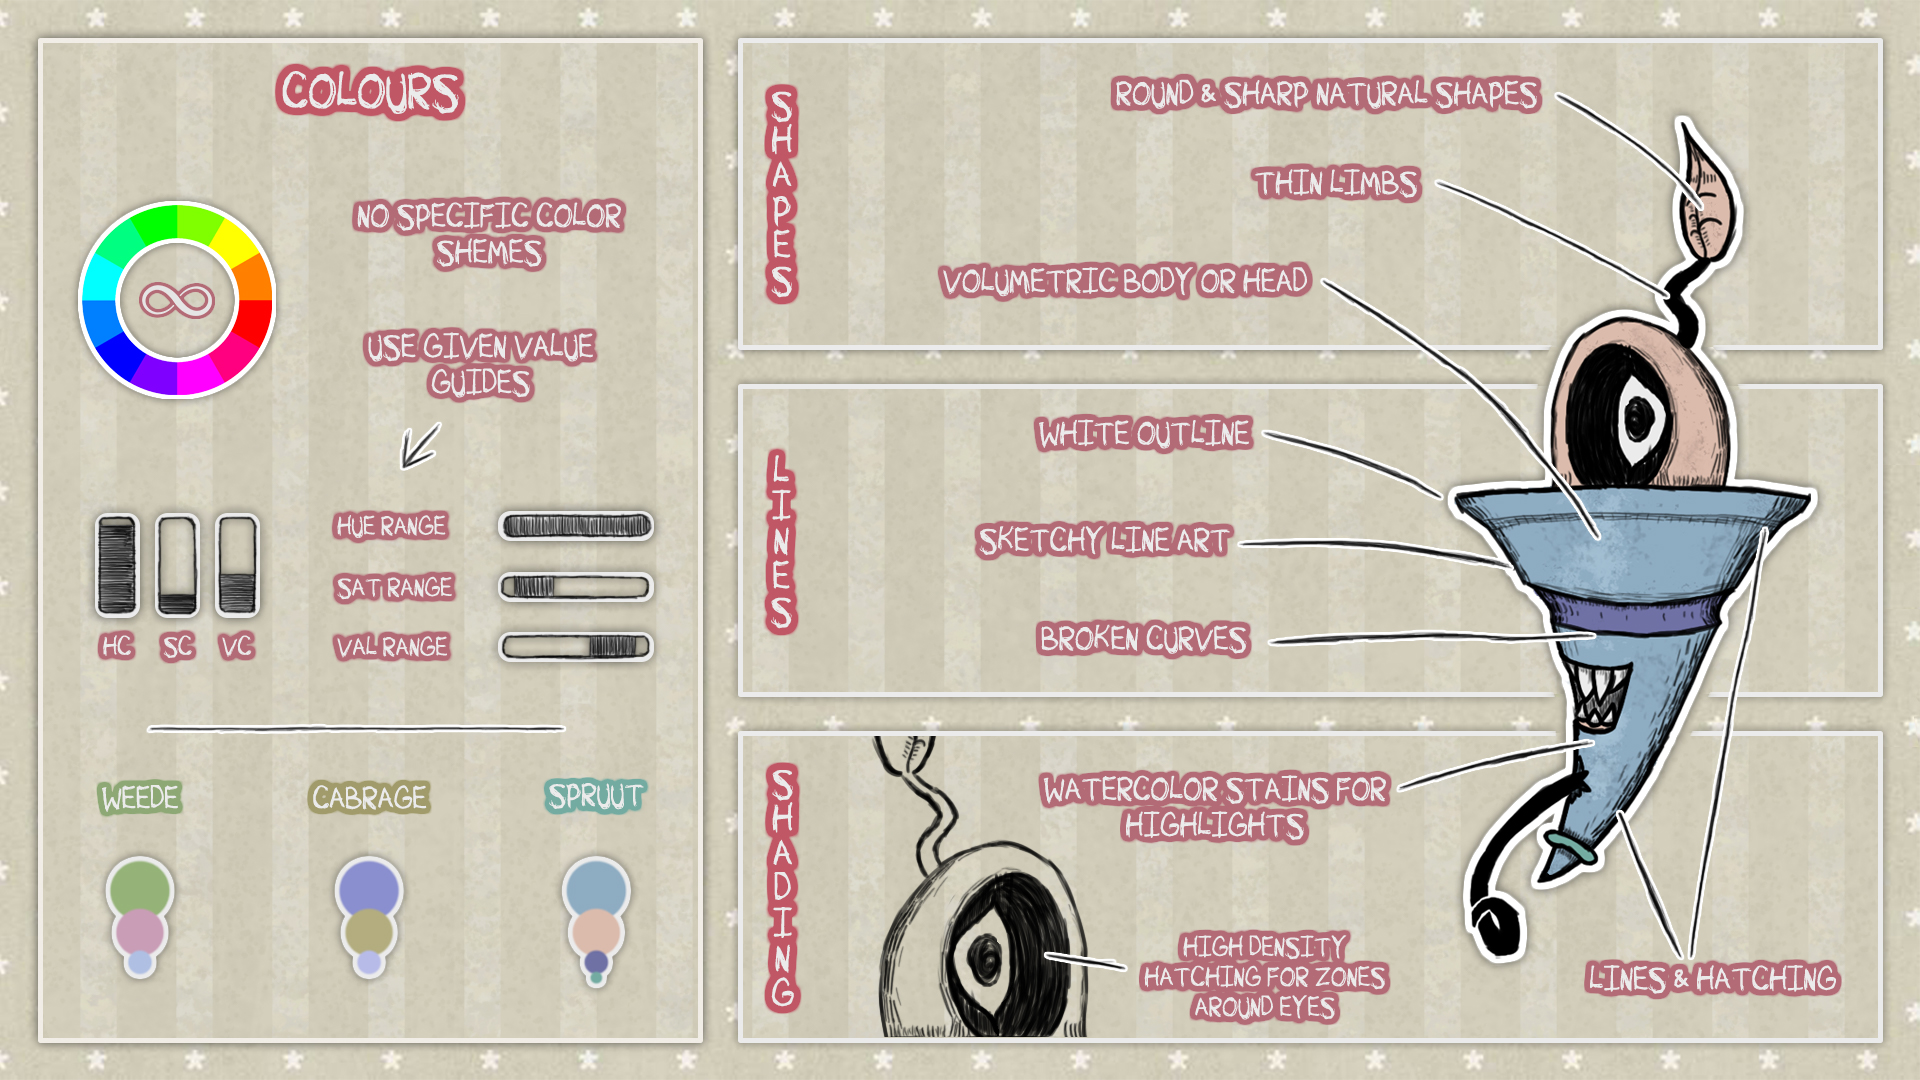
Analysing a reference art style
Following my choice of a reference art style, I had to make a thorough analysis in order to be able to reproduce a set of characters with it. Analysis included HSV colour values, line art, type of shading & how it is applied, and shape language. To use the analysis for production, I created a visual style-guide, allowing for a more fluent and consistent production process.
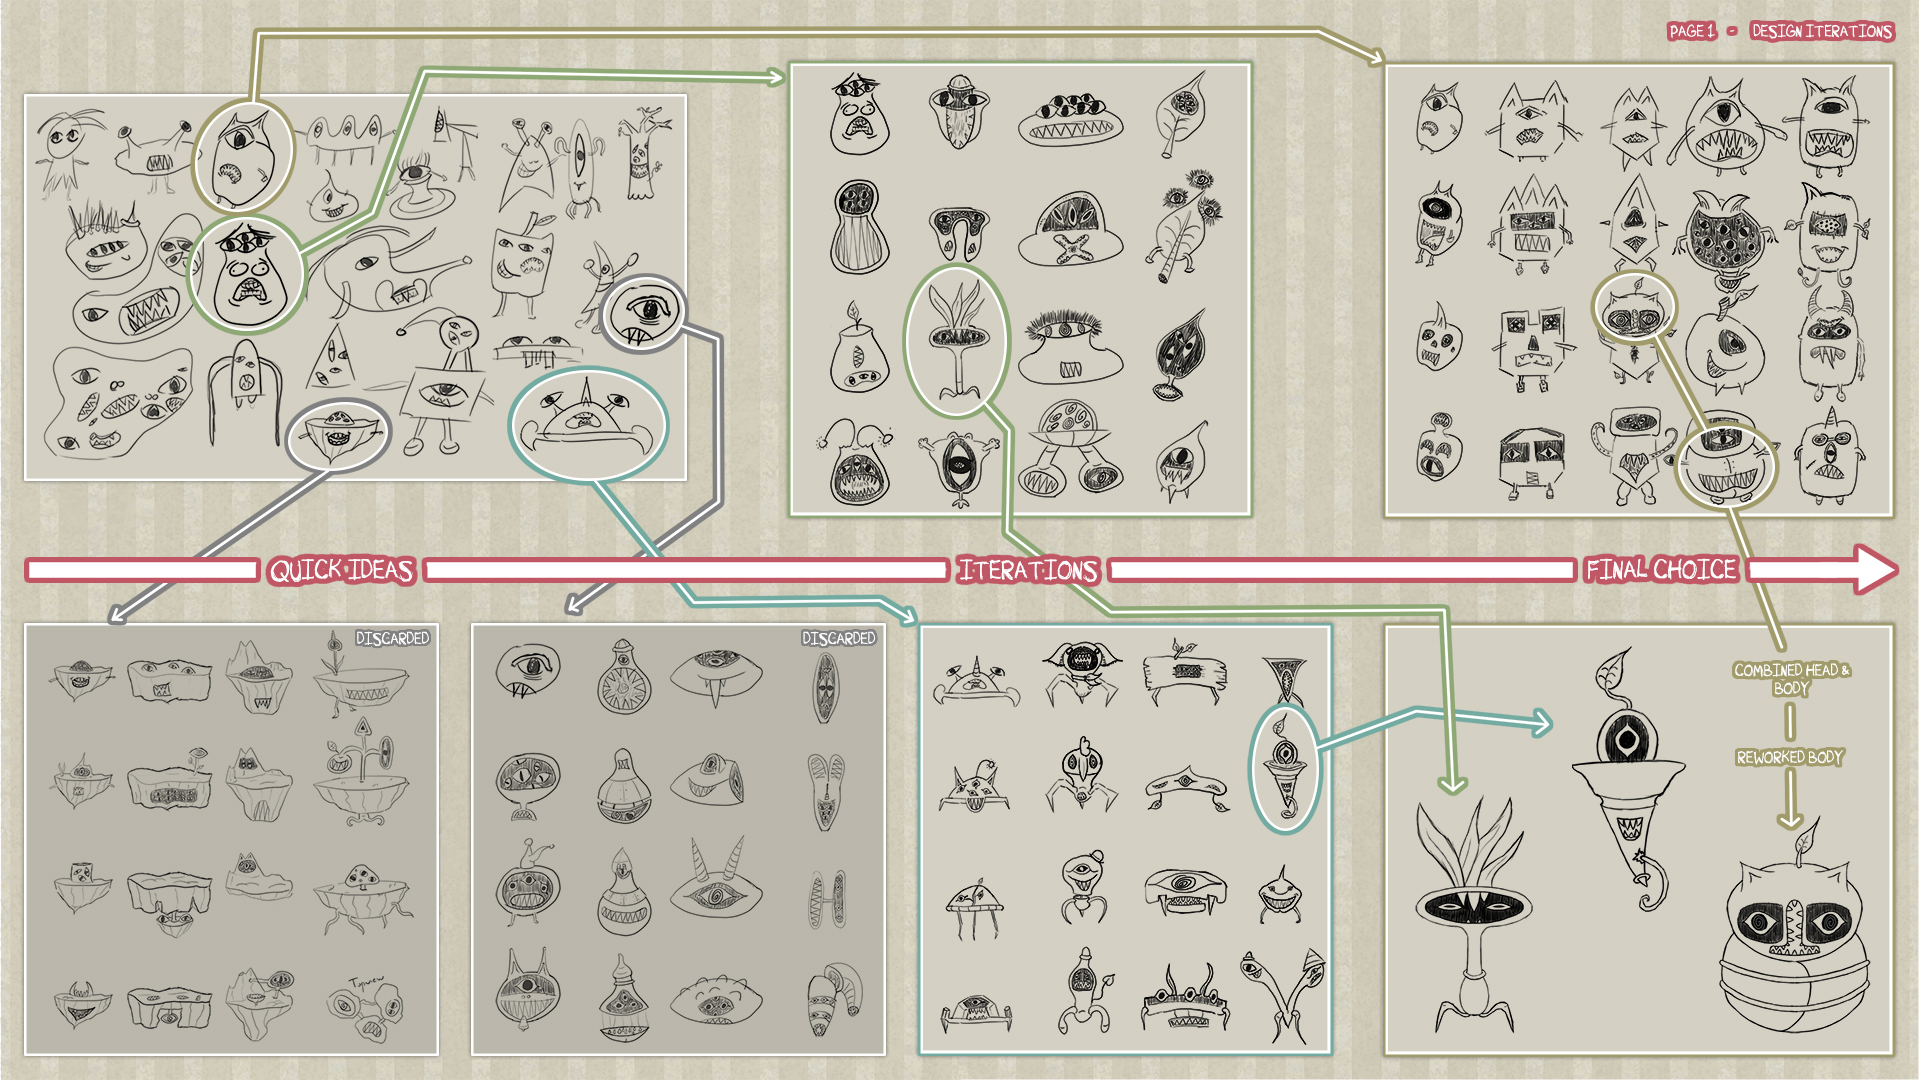
Getting interesting figures
Getting an interesting concept relies heavily on iteration. In order to improve on
my iteration process I used a horizontal/vertical iteration technique to get the
most interesting figures I could come up with in a relatively short period of time.
I started off with a page of quick sketches, selecting the better ones to iterate on
further. Horizontally I iterated these on shapes, where vertically I iterated on details &
features.
From these iterations, with some feedback from peers, I selected the two most
interesting ones and combined a few iterations to get a third interesting figure.
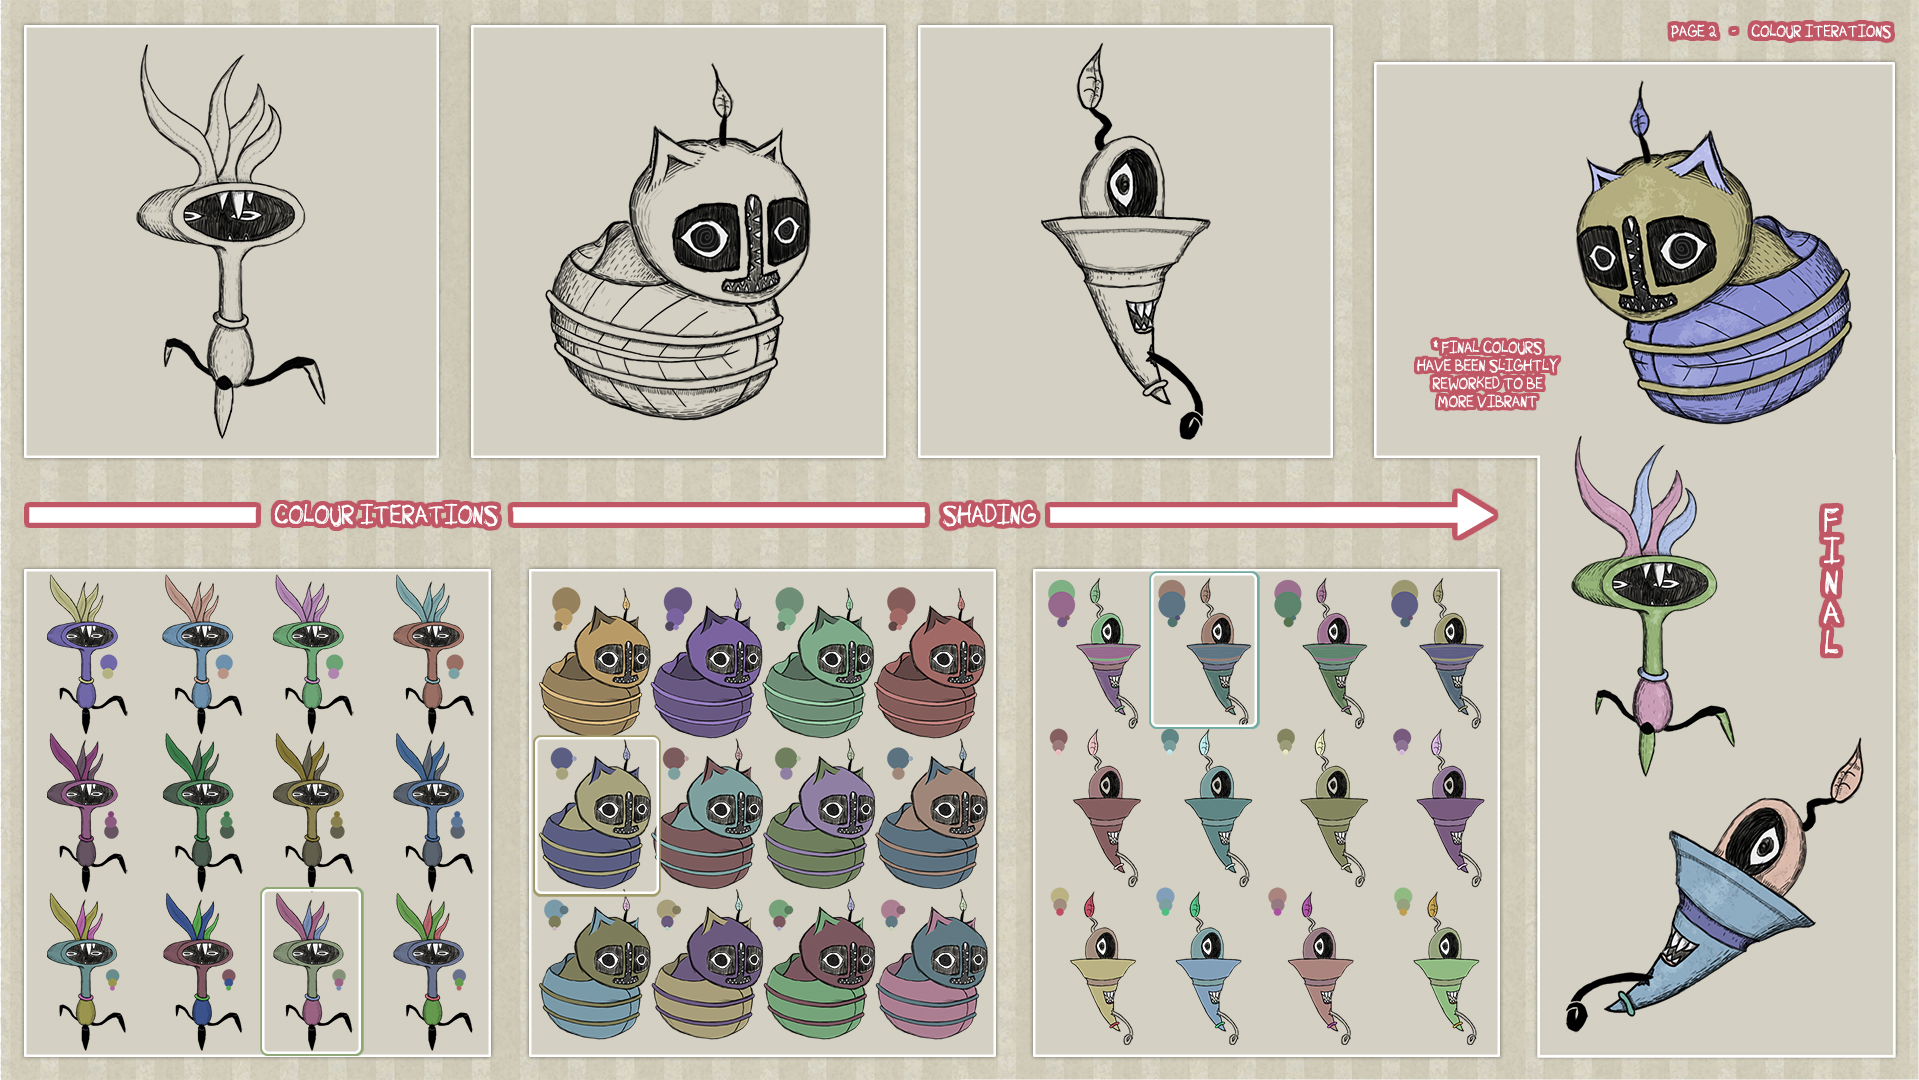
Shading & colours
Having three figures chosen, the next step was to draw them in a final line art in 3/4
perspective, in which I used Blender to aid with perspective correctness. Once the
line art
was done, I needed to add shading. The reference art-style used a line/hatching technique to
add light & shadows. After a few practice rounds, I managed to get the shading done right
and it looked awesome already.
However, I still needed to add colour and finalize the characters. To get the best
fitting colour schemes, I iterated through numerous schemes for each character using
photoshop to alter HSV values and line them up next to one another for easy comparison.
Finalizing
Time to finalize. Combining line-art, shading, and colours I went with a simple horizontal
line-up to showcase the three characters. After reviewing, I decided to update the colours
to make them a little more vibrant.
Along with the horizontal line-up, I added a fitting background and added a white
outline around the characters in order to match the reference style.
