Egyptian Carpetmaker
Designing a 3D stylized Egyptian building
Intent
Goal
Software
Improve: Stylized design, texture atlas technique, modular 3D workflow.
A stylized ancient egyptian building in 3D.
Skills improved
- 3DS Max
- 3D Modelling
- Stylized design
- 3D modular workflow
- Photoshop
- Creating texture atlases
- Non-destructive layer workflow in Photoshop
- Unwrapping 3D models
- Texture variety through UV-positioning
- Baking & using lightmaps
Improving stylized design & modular workflow
The goal of this project was to combine the skills I learned over the past few stylized
projects, and create a building that would fit right into a stylized game.
The process of creation also had to comply to the following: I had to use a modular 3D workflow,
use a texture atlas, and go for the hand painted look.
The building also needed to have its function clearly visible and have small, 1-person-sized
dimensions.
To present, I was to add a floor and some extra props to shape it into a little diorama,
using a lightmap to create shading for extra readability.
Reference & sketching
To start, I gathered tons of reference of ancient Egypt and created a board of all of it.
Most of it are depictions of others of how ancient Egypt was, backed with some pictures of
old ruins.
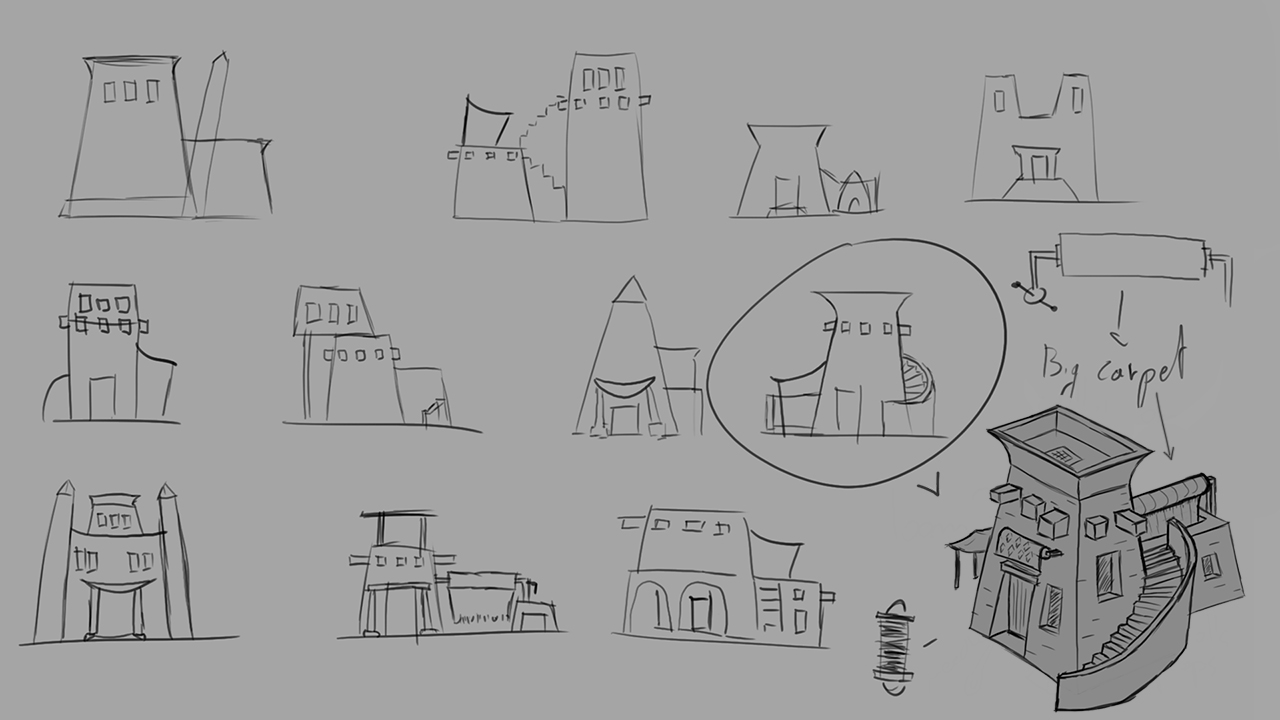
After carefully studying the ancient Egyptian's architecture, I sketched up some very
quick and dirty iterations of possible compositions.
When I was sketching, I also got the idea of the building being a carpetmaker's workshop. I chose a composition, and created a final sketch with the carpetmaker theme applied.


Blockout & Modular workflow
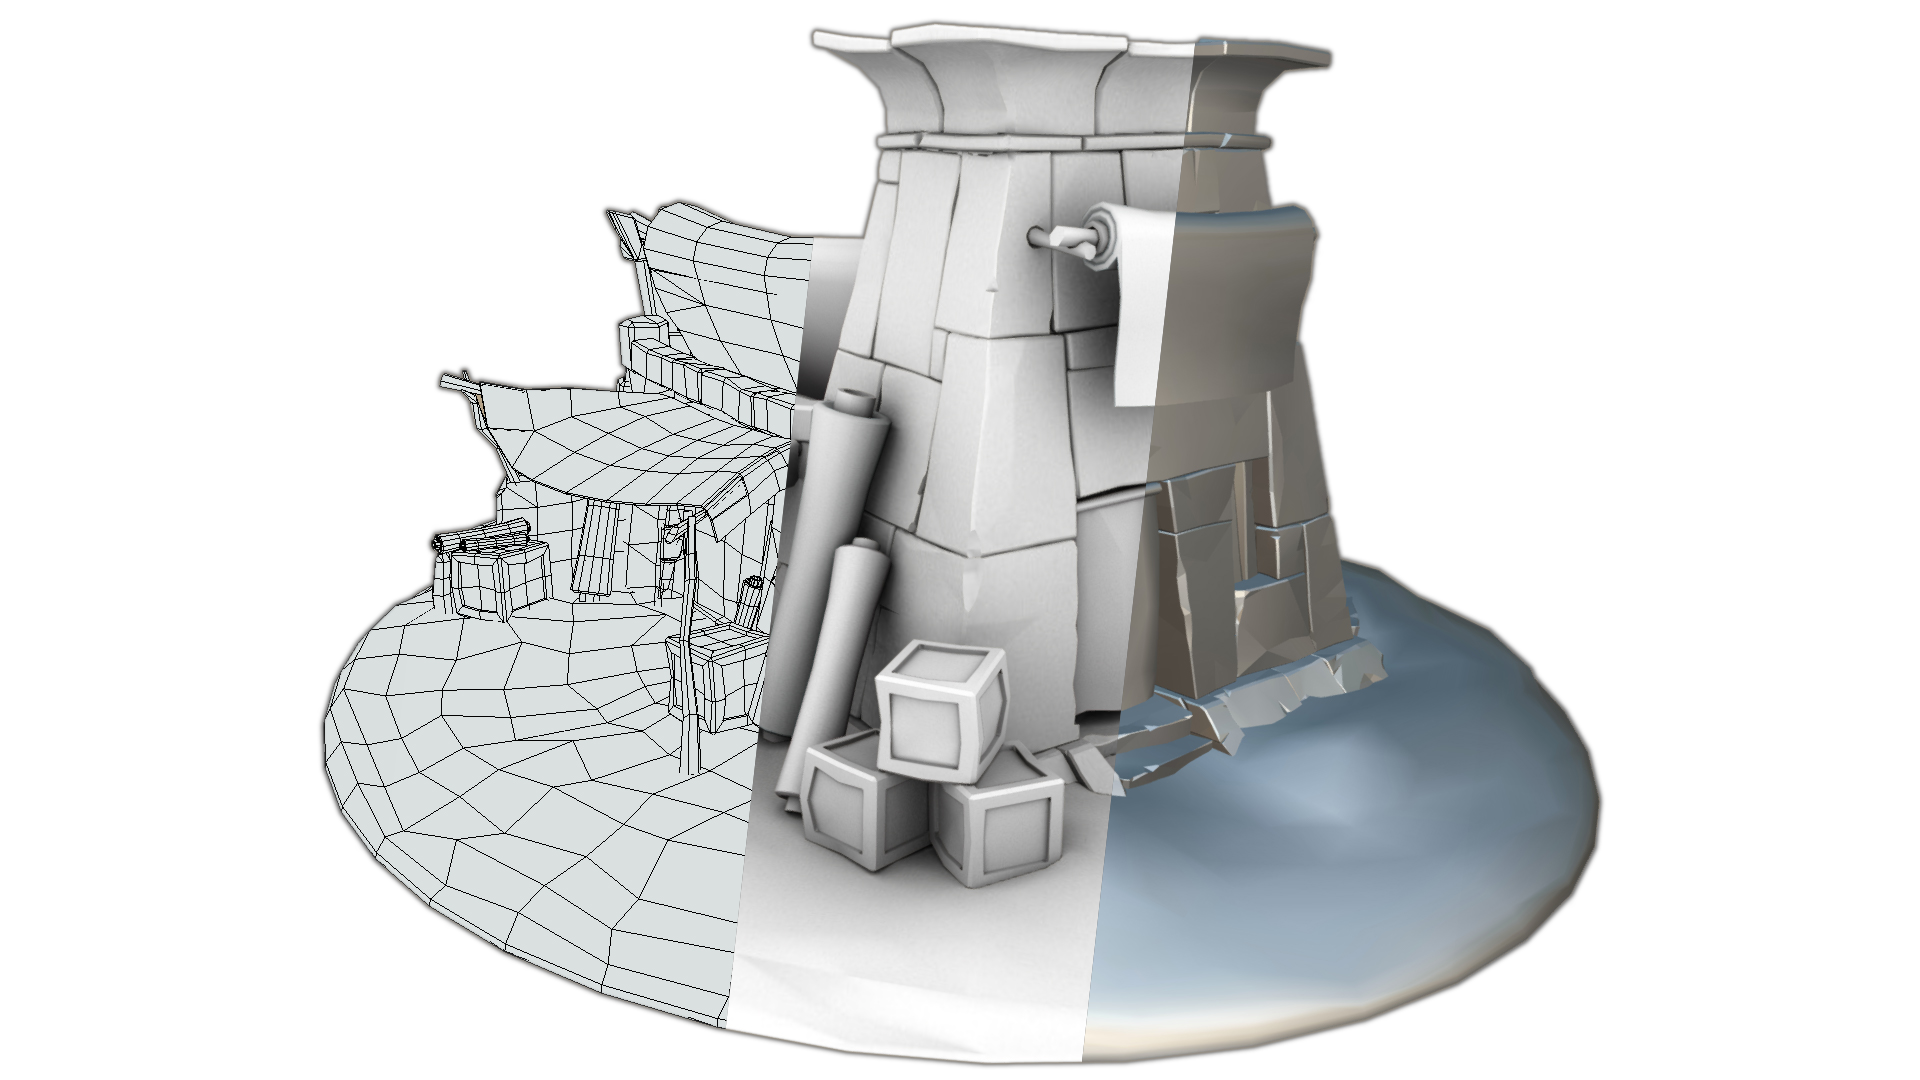
To create a good design, I started by creating a blockout of the final sketch. This allowed
me to modify the composition, and play around with the proportions & shapes until I was
satisfied with the result.
The blockout was going to be used as a 'skeleton' to place the building blocks on.
To work modular, I needed to create modular building blocks. In this case, I needed slabs of stone, bricks, wooden beams, special shaped stones and some carpet and box props. Each base piece got expanded with some variations. When I finished my kit, I 'dressed up' the blockout to create my 3D model.
Texture atlas
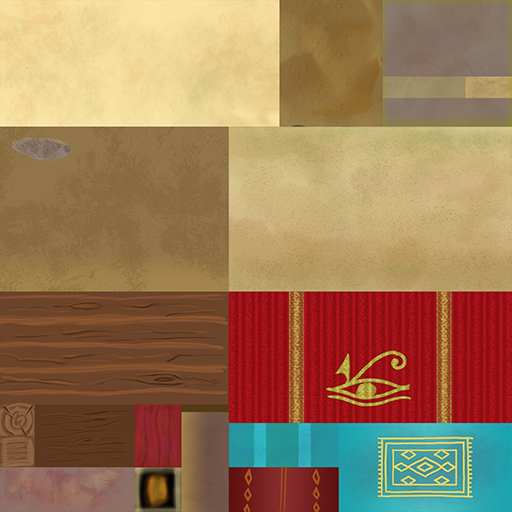
Creating a texture atlas relies on some forward planning, analysing your model's materials, and
having your building blocks unwrapped.
I had already unwrapped my base building blocks before I created any variants, so I only had
to move the UV-islands to their correct coordinates.
To create the texture atlas, I iterated flat-colour mock-ups based on the materials my building needed. I left some free space for unique details, and fit all the UV-islands of the building blocks on their respective coordinates.
Now All I needed to do was paint the final textures, paint the unique details, and bake the lightmap.
Presenting
To present, I finished the scene by adding props, rearranging items, adding and painting a floor,
and uploaded to Sketchfab.
I had a lightmap to use, but still decided to make use of the lighting system to create
extra shading, and make the scene feel more 'alive'.
