5 Low Poly Props
Creating old school 3D game props
Intent
Goal
Software
Improve: 3D modelling and unwrapping skills, texturing skills.
5 3D low-poly models, conform to 2004 (Half-Life 2) standards.
Skills improved
- 3DS Max
- Photoshop
- Converting reference items to 3D models
- Logic insight how to build up models
- 3D low-poly modelling techniques
- 3D model unwrap techniques
- 3D model smoothing & normals
- Rendering UVW maps
- Baking AO maps
- Create diffuse, opacity, specular, ... maps
- Non-destructive layer workflow in Photoshop
- Using clean folder structures for delivery
improve 3D skill set, 3DS Max proficiency
A new software is always a tough nut to crack. Getting used to navigating and experimenting
with all the modifiers in 3DS Max was fun, but time came around to put it to practice and
produce some usable items for a 2004 (Half-Life 2) era game.
Getting proficient in 3DS Max whilst improving my 3D modelling skills is what this project was
intended for.
Along with an introduction to 3D production workflow, I'd be using 3D low-poly modelling
techniques, improve on unwrapping the models, and 'brush up' my old texturing skills.
Reference & set up
Starting off, I needed reference material of items that would fit in the theme/mood of a future
project (Cinque Terre diorama), in order to use these models as decorative props.
After
creating a mood board and some searching on the web, I chose 5 objects to turn into a low-poly
3D model:
A unique garbage bin, a race bike, a local streetlight, a restaurant street sign, and a
two-person rowboat.
I set up a human-sized cube as proportion reference in 3DS Max and imported the reference
images on planes scaled to proportion.

Creating the 3D models
The easiest objects are the fastest to make, or so I thought... using a program I was
not yet adept at, it took a lot of struggles and mistakes to get a fluent workflow going.
Once navigating got into muscle memory, creating the objects turned out fairly easy.
The bin was primarily composed of primitive cubes, the streetlight by extruding
cylinders to create detail, and the street sign was basically a mirrored plane—with an inset
and cut-outs—extruded to give it a width.
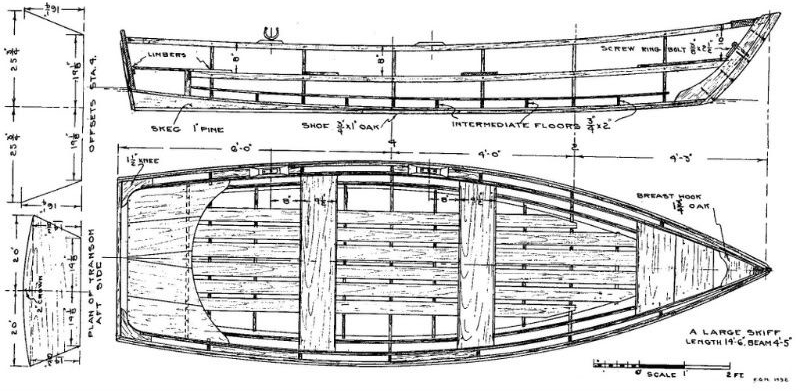
Creating the boat was a bit harder, the special shape of the hull required some
ingenuity. I found it in setting up my reference using a front/top/side view of a blueprint,
one perspective for each axis.
I used a cube the size of the boat, placed edge rings/loops on key points and scaled
them accordingly with the reference material.
All that remained was to inset the top along the hull shape, modify some small details,
add in the seat planks, create the oars, and set the correct smoothing groups.
The race bike turned out to be the lovechild of this project. Turning out to be a
complex model, I decided to add more focus to detail and not focus too much on the
polycount.
I used cylinders for most of the bike frame, the reference technique of the boat hull
for the saddle, spline-modelling for the handlebars, actual modelled spokes instead of
textured planes, and using modifiers/manual edits for the remaining unique parts.
Wrapping up, I cleaned the meshes to ensure no doubles remained, smoothing was
assigned
properly, and the normals were calculated correctly.
Unwrap & texture
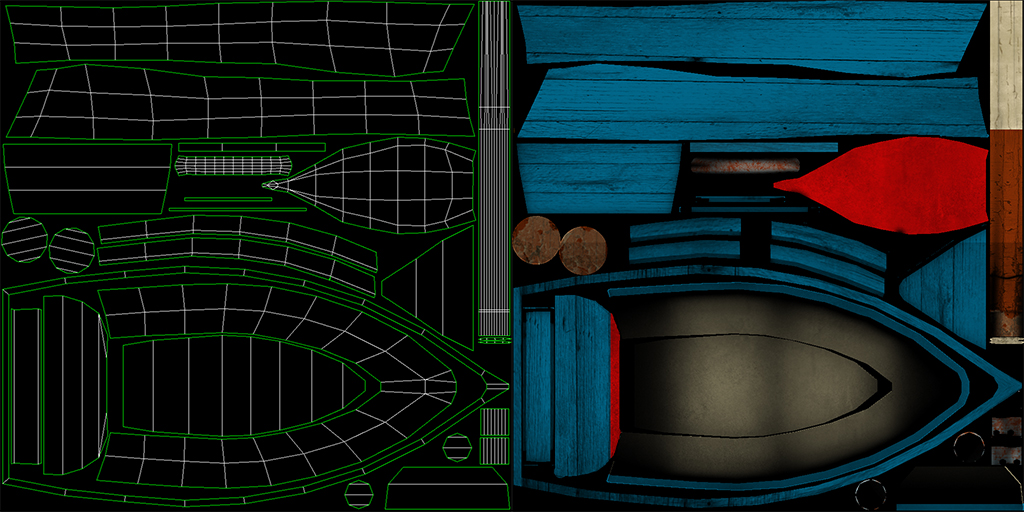
Unwrapping was the easiest part: Simple logical thinking and making fair use of
correct UV-islands whilst keeping the bare minimum of texture
'white space'.
A quick render of the resulting UVW map, and loading it into photoshop gave me a helper to
distinguish UV islands.
I Applied a
non-destructive layer workflow to build up the diffuse map: Base colour, texture, detail,
wear, grunge, dirt, dust, and other layers.
I managed to create 5 realistic objects. Thanks to the texture technique, altering the
looks of the objects can be easily done in the future without having to dig deep into the
project, or start anew.

Presentation
A simple scene composition, in a way the objects seem to belong together. Uploaded to Sketchfab for display.