Procedural Bow
Building a procedural asset in Houdini
Intent
Goal
Software
Improve: Houdini proficiency, Procedural skill set.
A procedural 3D bow asset, ready to use in a game engine.
Skills improved
- Houdini
- VEX Language
- Premiere Pro
- Video editing (Showcase video)
- Building node-based procedural assets
- Logical & readable node-structures
- Applying math formulas
- Using Relative References
- Creating asset Parameter Interfaces (UI)
- Writing custom attribute wrangles
- Writing custom .hda nodes/tools
Introduction to procedural
As the industry is adopting proceduralism more and more, So should I. No better intro than to
actually create a procedural asset!
In order to do so, I was going to use SideFX: Houdini. A software embraced for its
versatility and powerful capabilities, and considered to be growing ever more popular in the
near future.
This project was thus meant to improve my skills in creating procedural assets, whilst
improving my proficiency in Houdini. Main goal: Raw 3D procedural models, without unwrap or
textures, and clean node-structuring.

The importance of reference
When creating procedural assets, you need a good reference analysis. What are the common parts,
how are they linked, are there structural dependencies, ...
This is all to be able to create a solid base for the procedural asset. A solid base is the
key to an asset with countless edit options.
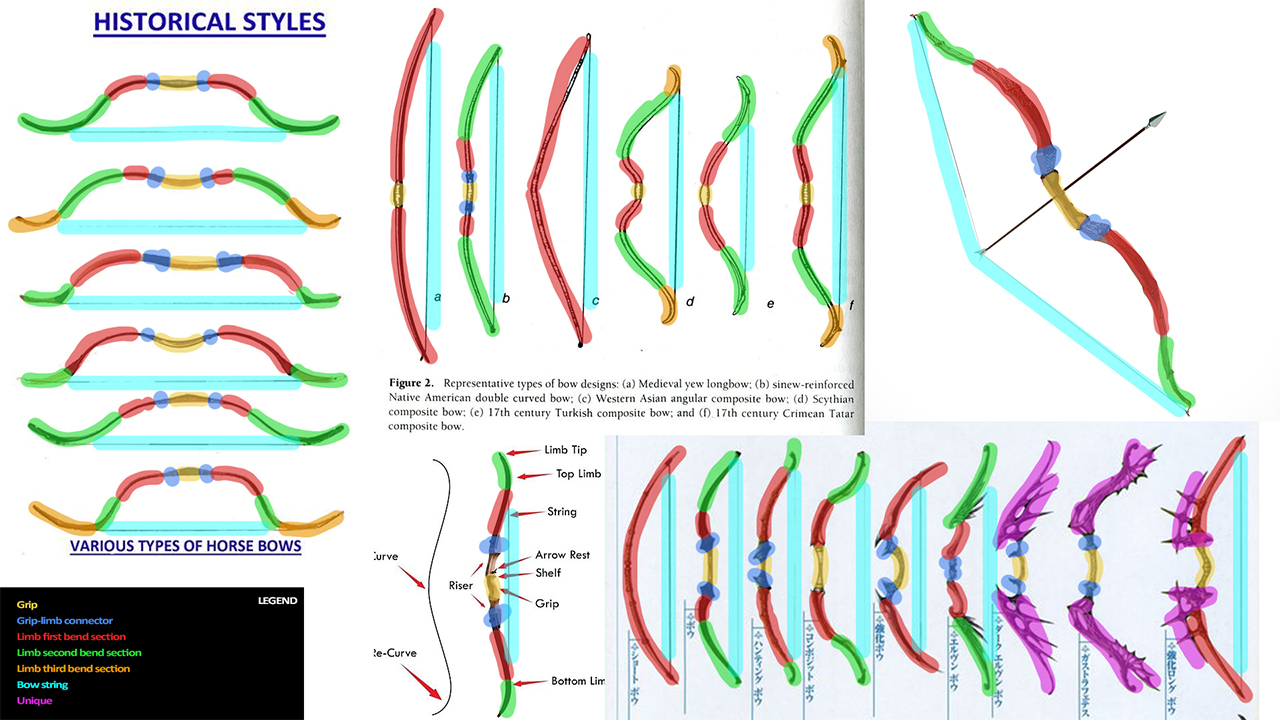
In this case, I chose medieval/fantasy bows to turn into an asset. There are 3 main parts:
The grip, the limbs, and the string. However, I decided to go one step further and split up
those main parts. This would allow me to create a bow base that could take many shapes.
Extreme fantasy bows seemed one step to high to achieve for me yet; so I marked unique parts
that I would not do.
From math & nodes to 3D model
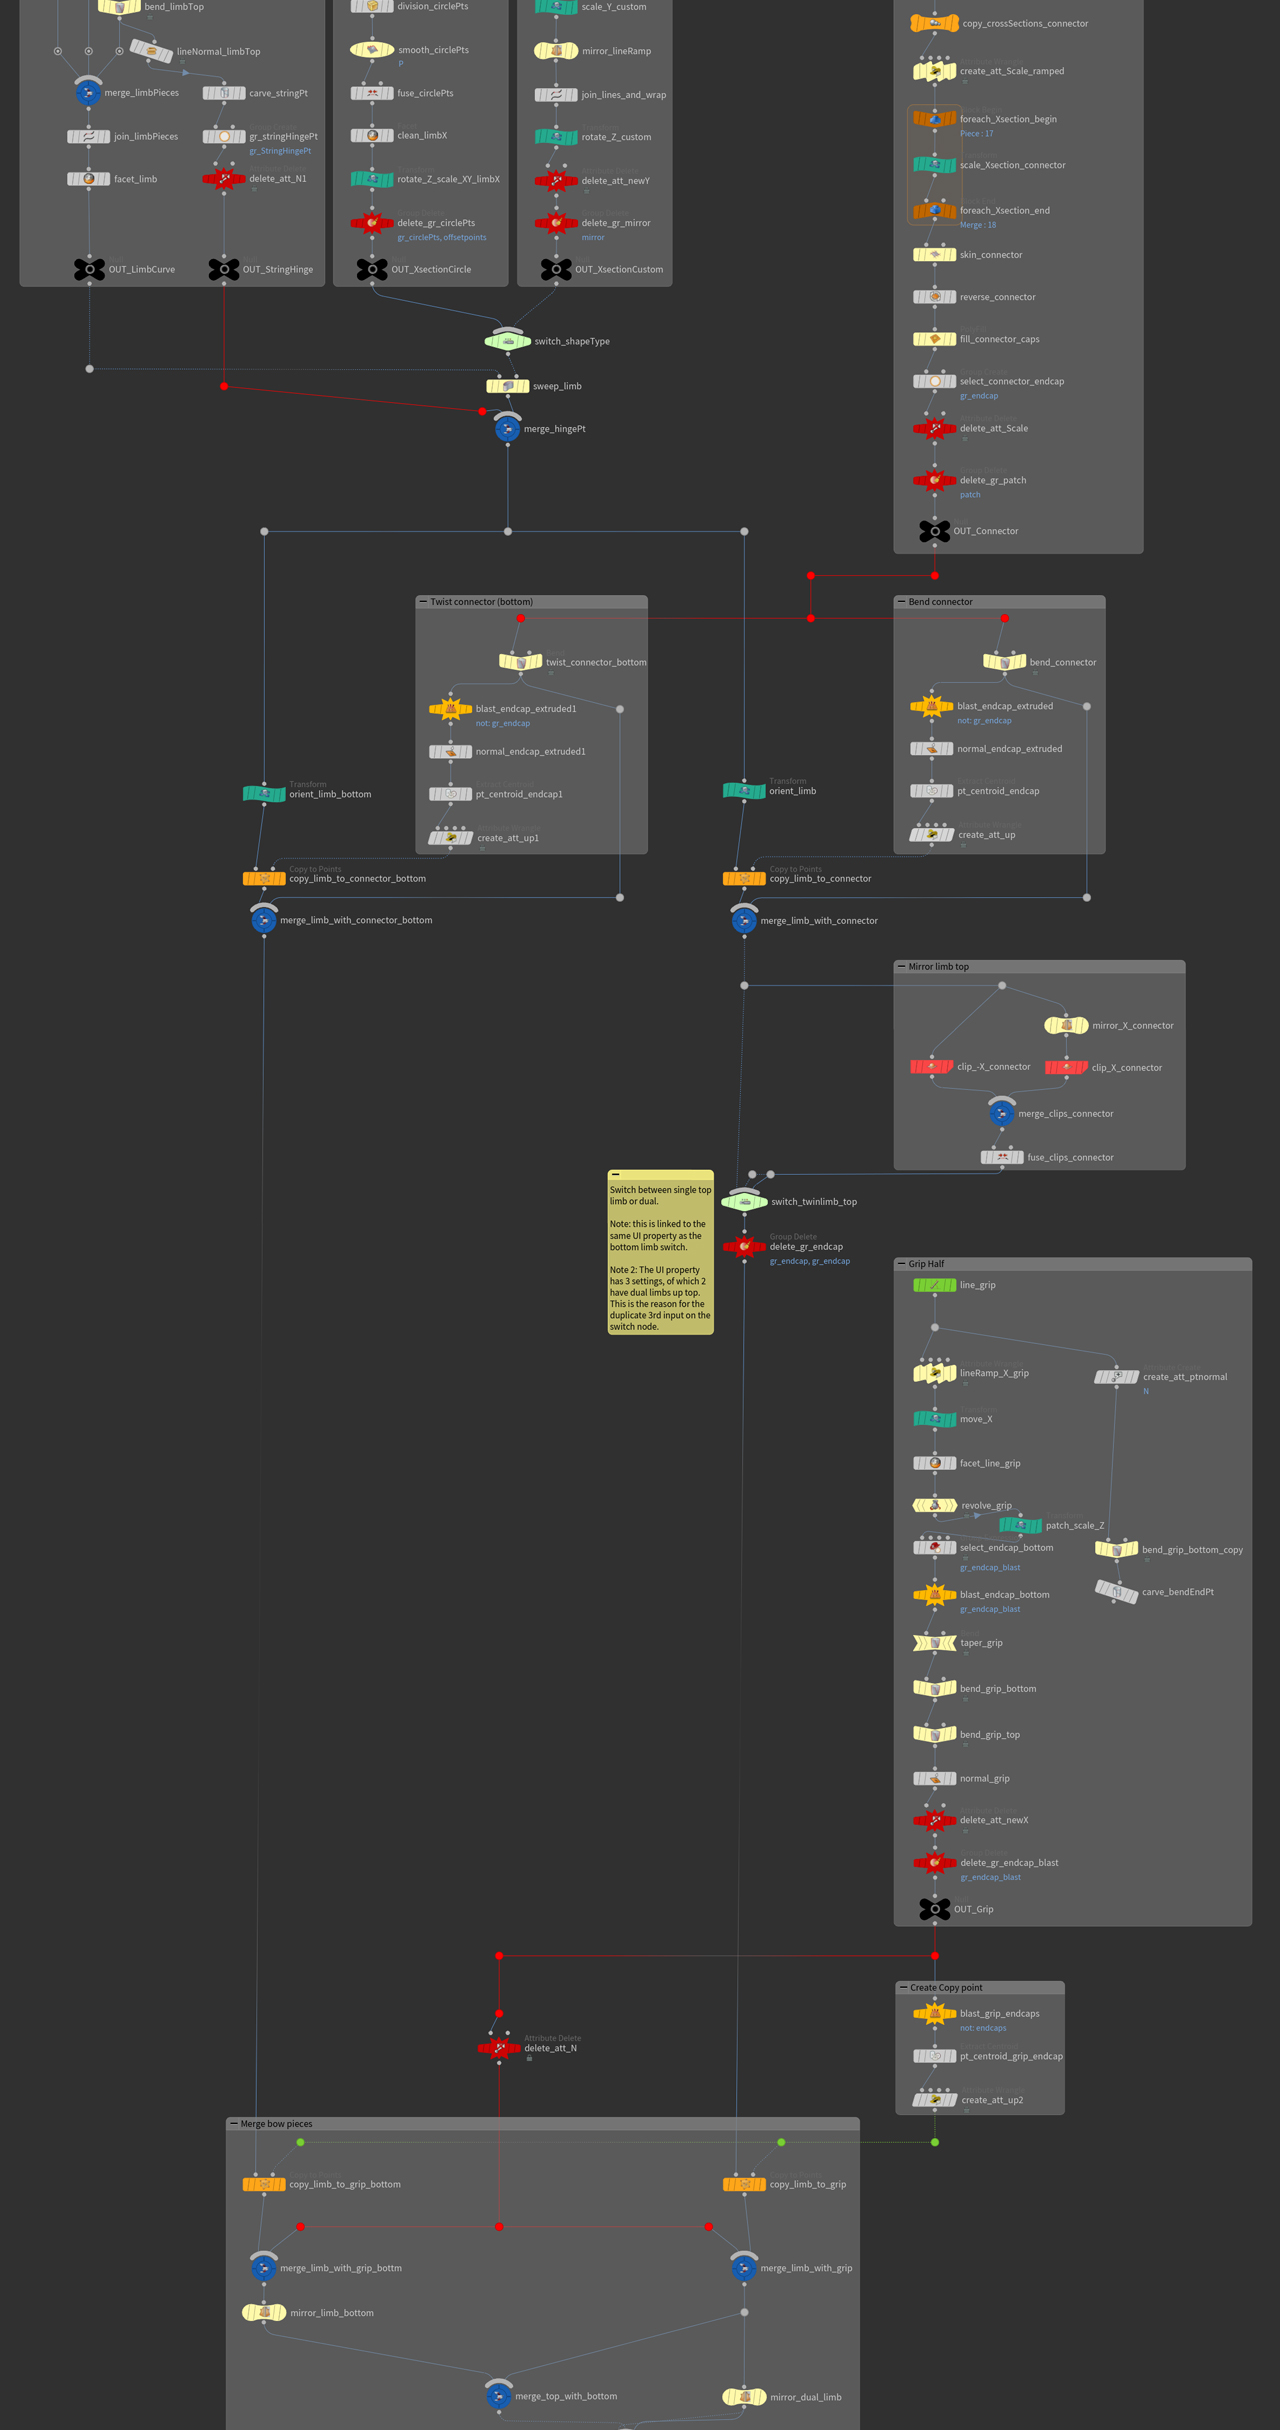
Building up a procedural model was actually not that difficult in Houdini. The nodes &
attributes are straightforward, all the math you need is basic, and node combinations are what
creates the magic. In case something special is needed, you can write your own attribute
wrangles or tools.
6 Attempts, each with working bow assets. Only on my 7th attempt did I know how I was going
to build up a solid bow asset.
The limb
Built up by creating a 3-part spline and sweeping a custom cross-section along it. To offer
an extra dimension, I added a toggle to a "custom" cross-section that was controlled by a line
ramp tool.
The limb connector
Built up by a for-each loop that translates and scales a plain circle input, and a
skin node to convert it into a smooth mesh. This part connects the limb with the grip.
The grip
I built a vertical-half of the grip by again creating a spline, but this time using a line
ramp to create a shape that I would revolve around the Y-axis.
Assembling the bow
To assemble the bow, I had to be a little creative in when and where the parts would be
connected. Making smart use of attributes, I passed through connection-positions for later use.
Depending on how many limbs the bow would have, I added switch nodes with different branches
for part-merging. This way, the bow could have an uneven and even amount of limbs with no
problems.
The bowstring
The bowstring could only be added after the bow was assembled, using connections points
previously stored. The string was built from a simple point-to-point connection line, given
volume with a PolyWire node.
Of course, the node build-up was a bit more fancy than what I just described; however, most of
that fancy stuff are nodes to control the procedural changes the user will be able to set.


Designing the UI
A UI should be clear, logical and easy to use for the end-user of the asset.
Houdini allows to create some very clean and structured UI.
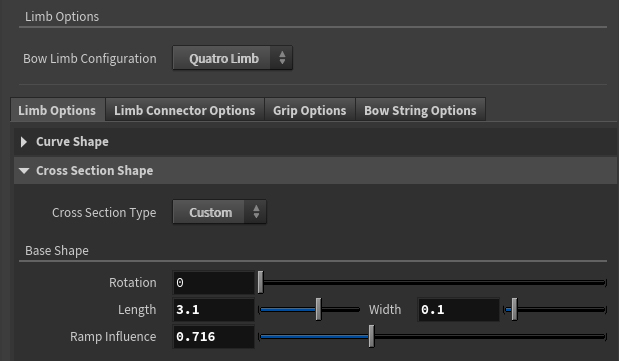
Making good use of the UI elements I had, I ended up structuring the main parts on separate
tabs, with a main option to choose how many limbs the bow should have. Each tab was divided in
foldable containers. Grouping the parameters per element they changed and naming them clearly
gave the UI the consistency it needed.
After the UI was done, I tested each parameter for issues whilst recording to later edit into a
trailer using Premiere Pro.