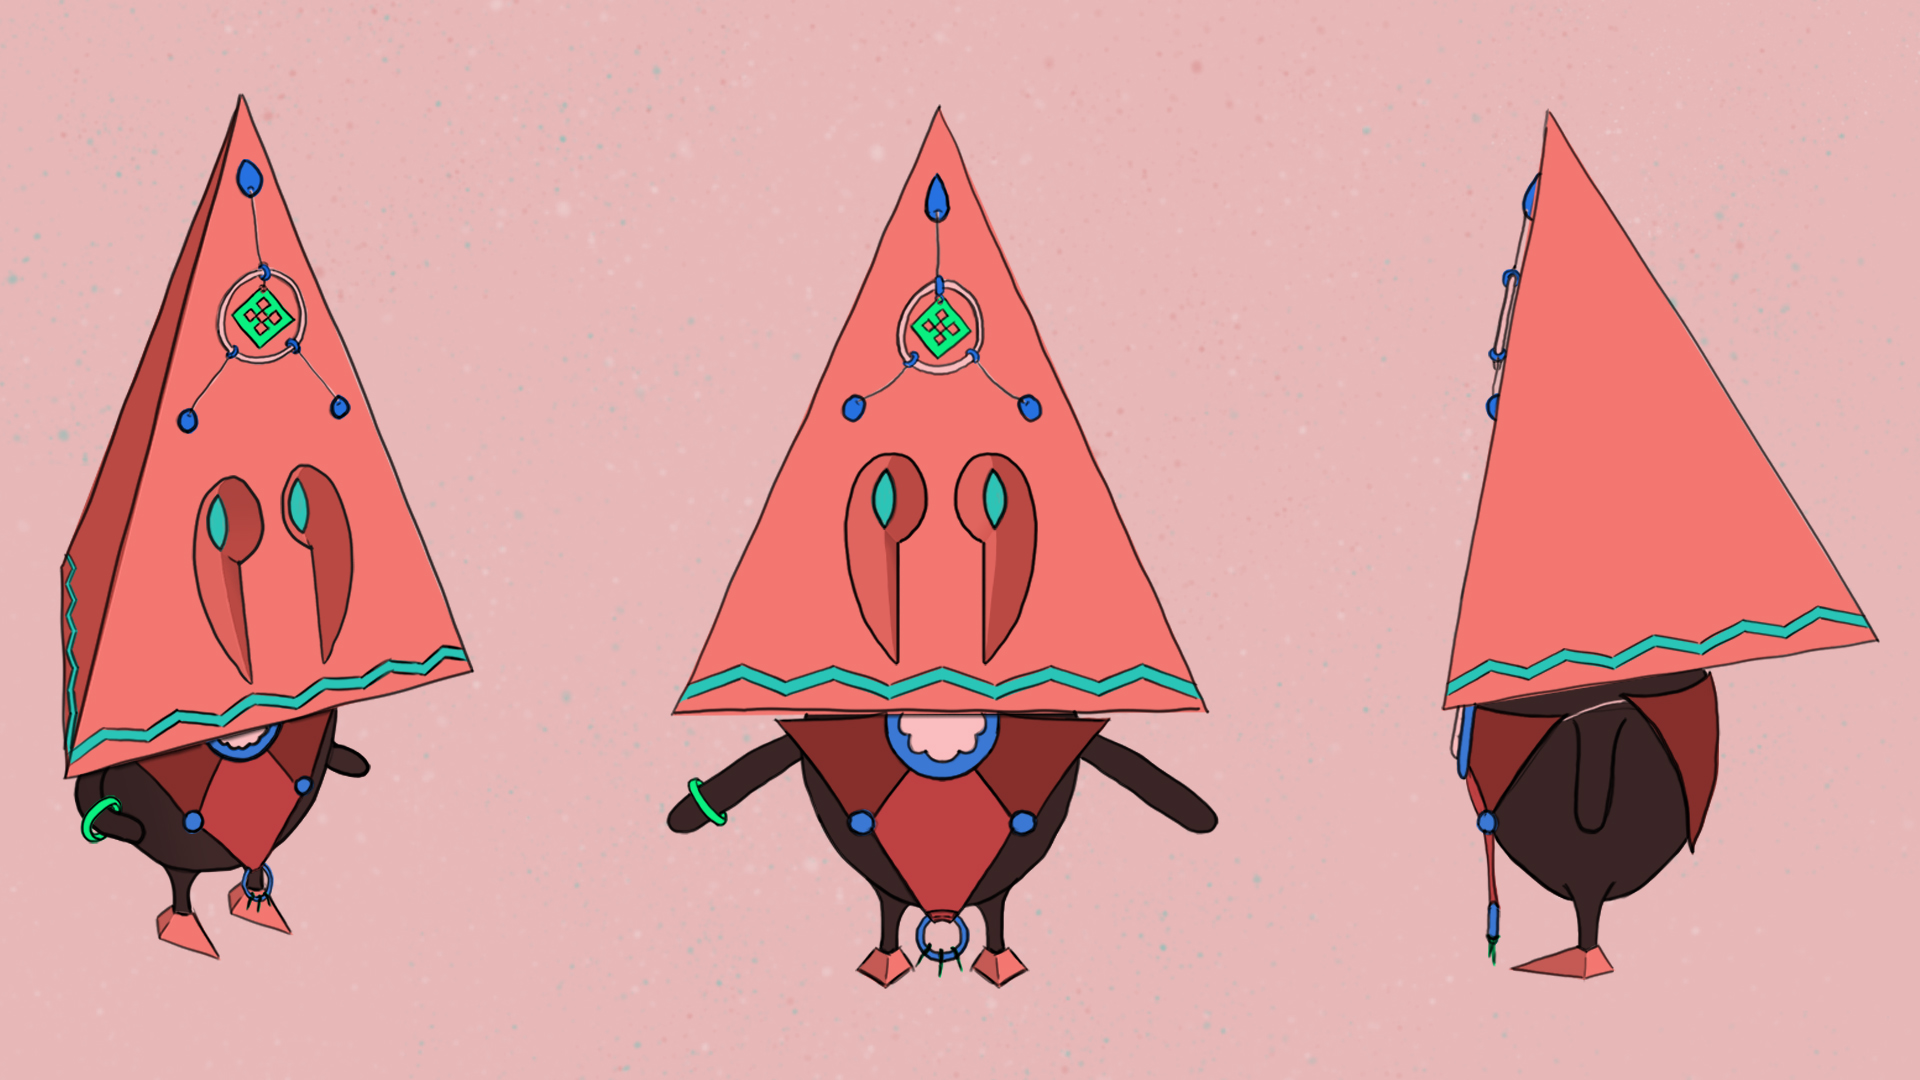
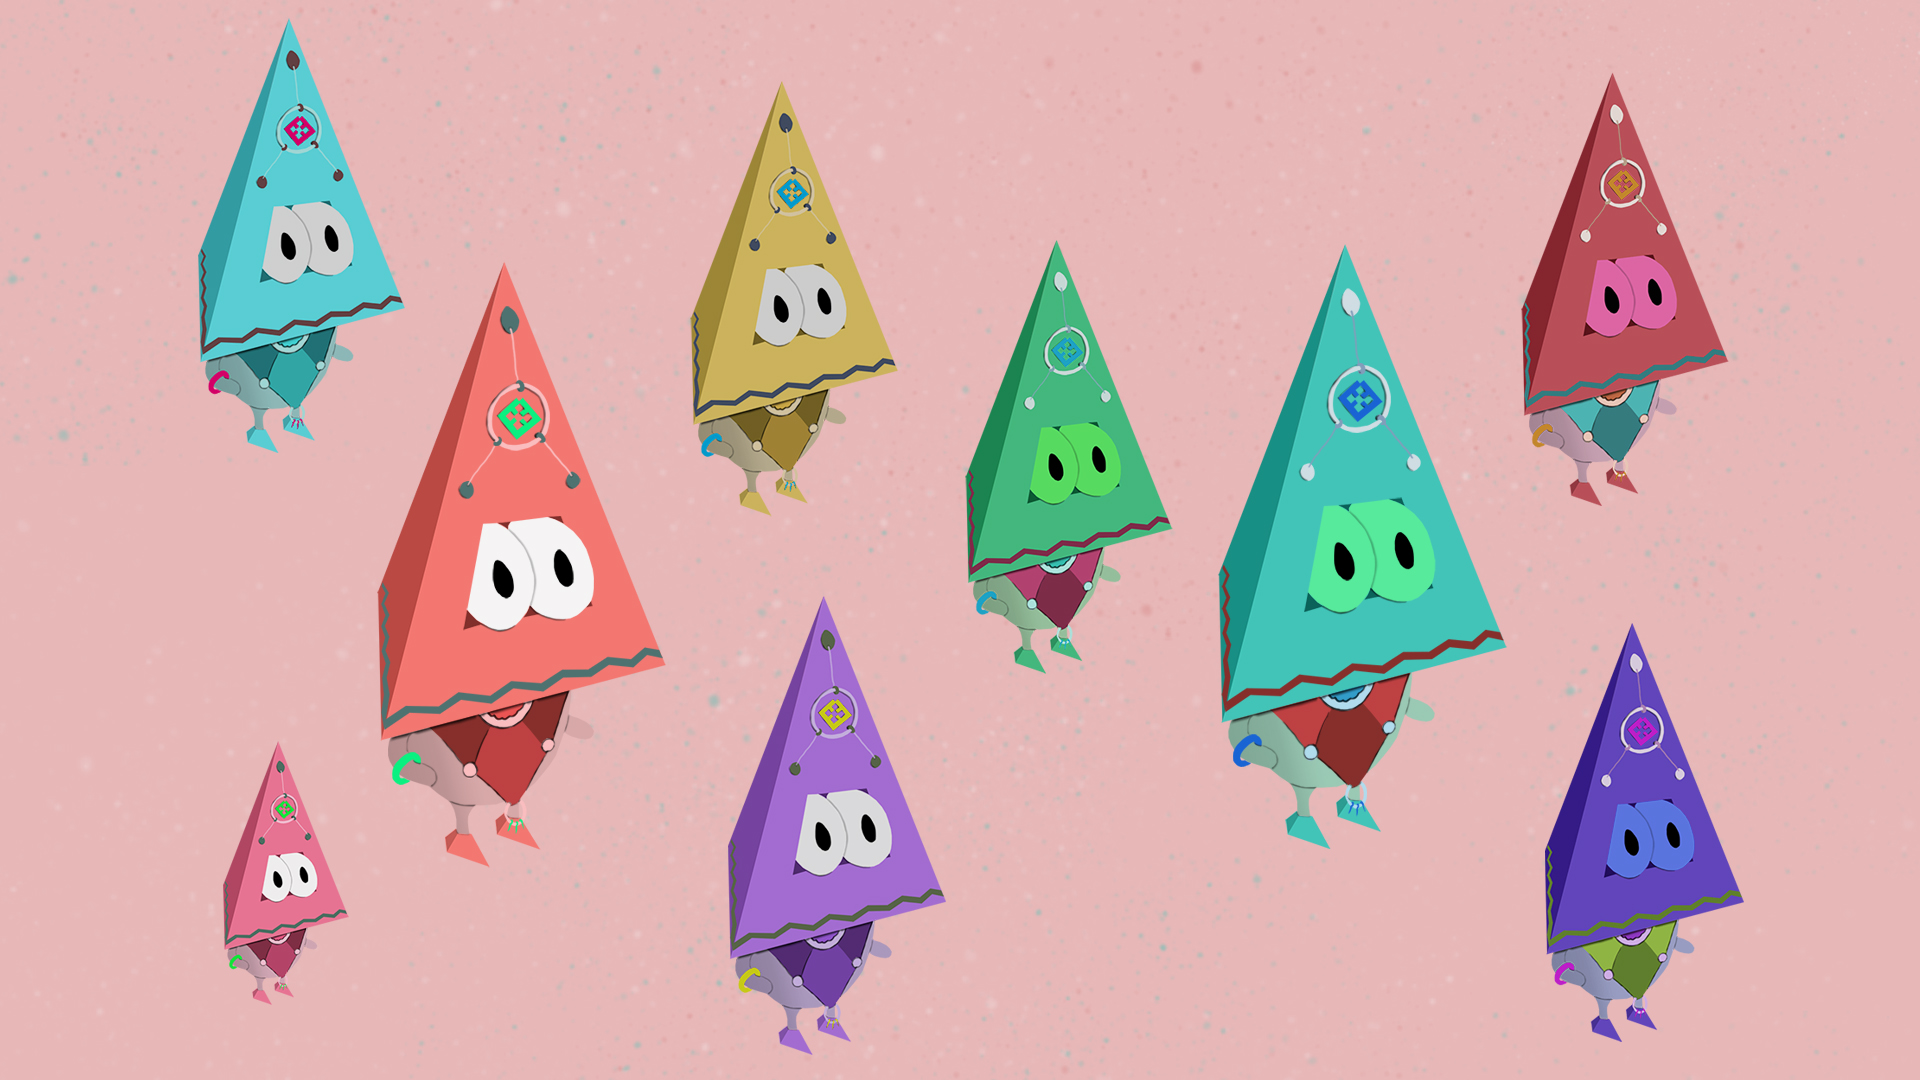
Model sheet - 3 Perspectives, A-pose, coloured, outline
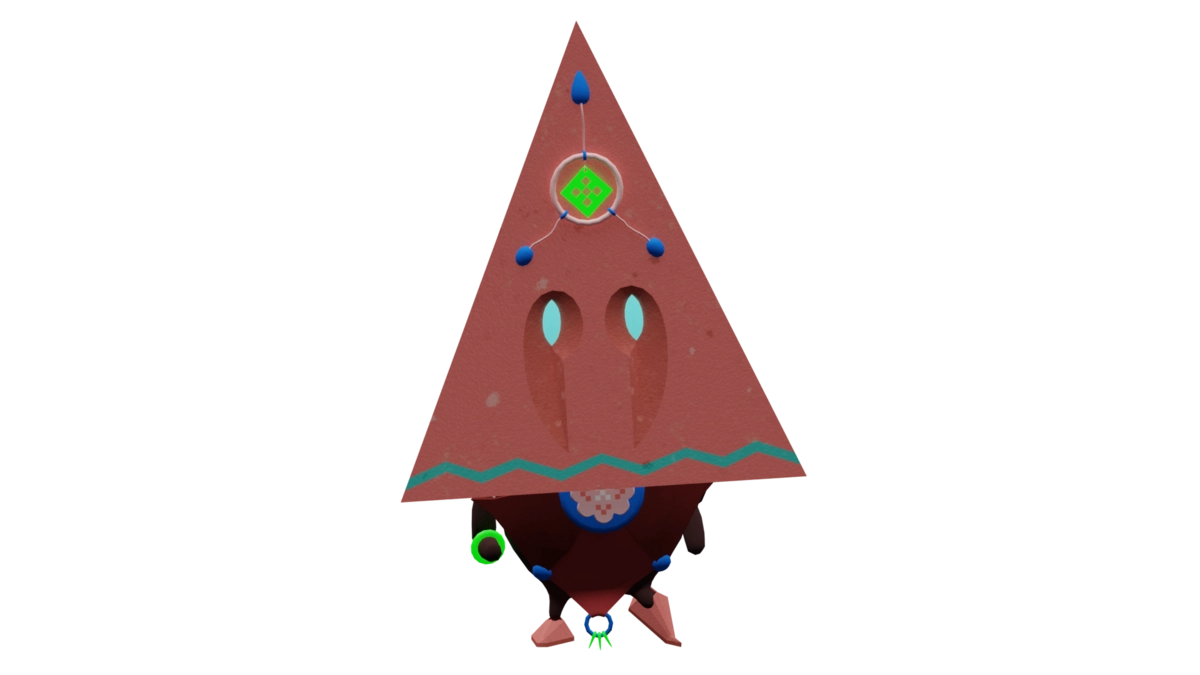
Chamán
Designing the avatar for "Atrapasueños"
Intent
Goal
Software
Improve: Character design, modelling, rigging, skinning, and animating.
A 3D game character, matching the art style of "Atrapasueños".
Skills improved
- Character design workflow
- Character design based on concept art
- Modelling 3D character
- Character mesh topology & flow
- Rigging & skinning character model
- Animating character model
- Adapting Mixamo animations to character rig
- Unity humanoid avatar set-up
- Unity animation controllers
Creating Atrapasueños' avatar
Read up on creating the game world: Atrapasueños (Game).
To have the player experience a non-disruptive immersion into the game world, I needed to design a character that matched the art style perfectly and corresponded with the envisioned story of the game world. This would mean going through the whole process: Concept, modelling & animating. Plus, I'd also have to implement it as a working character in Unity.
The goal: Creating & implementing a functional 3D avatar for "Atrapasueños" based on the art-style of the game, using proper workflow.
Concept
For this I had to apply the skills I had gathered from previous projects to create a fitting character concept. It would be a design restricted by the style guide and story of the game world.
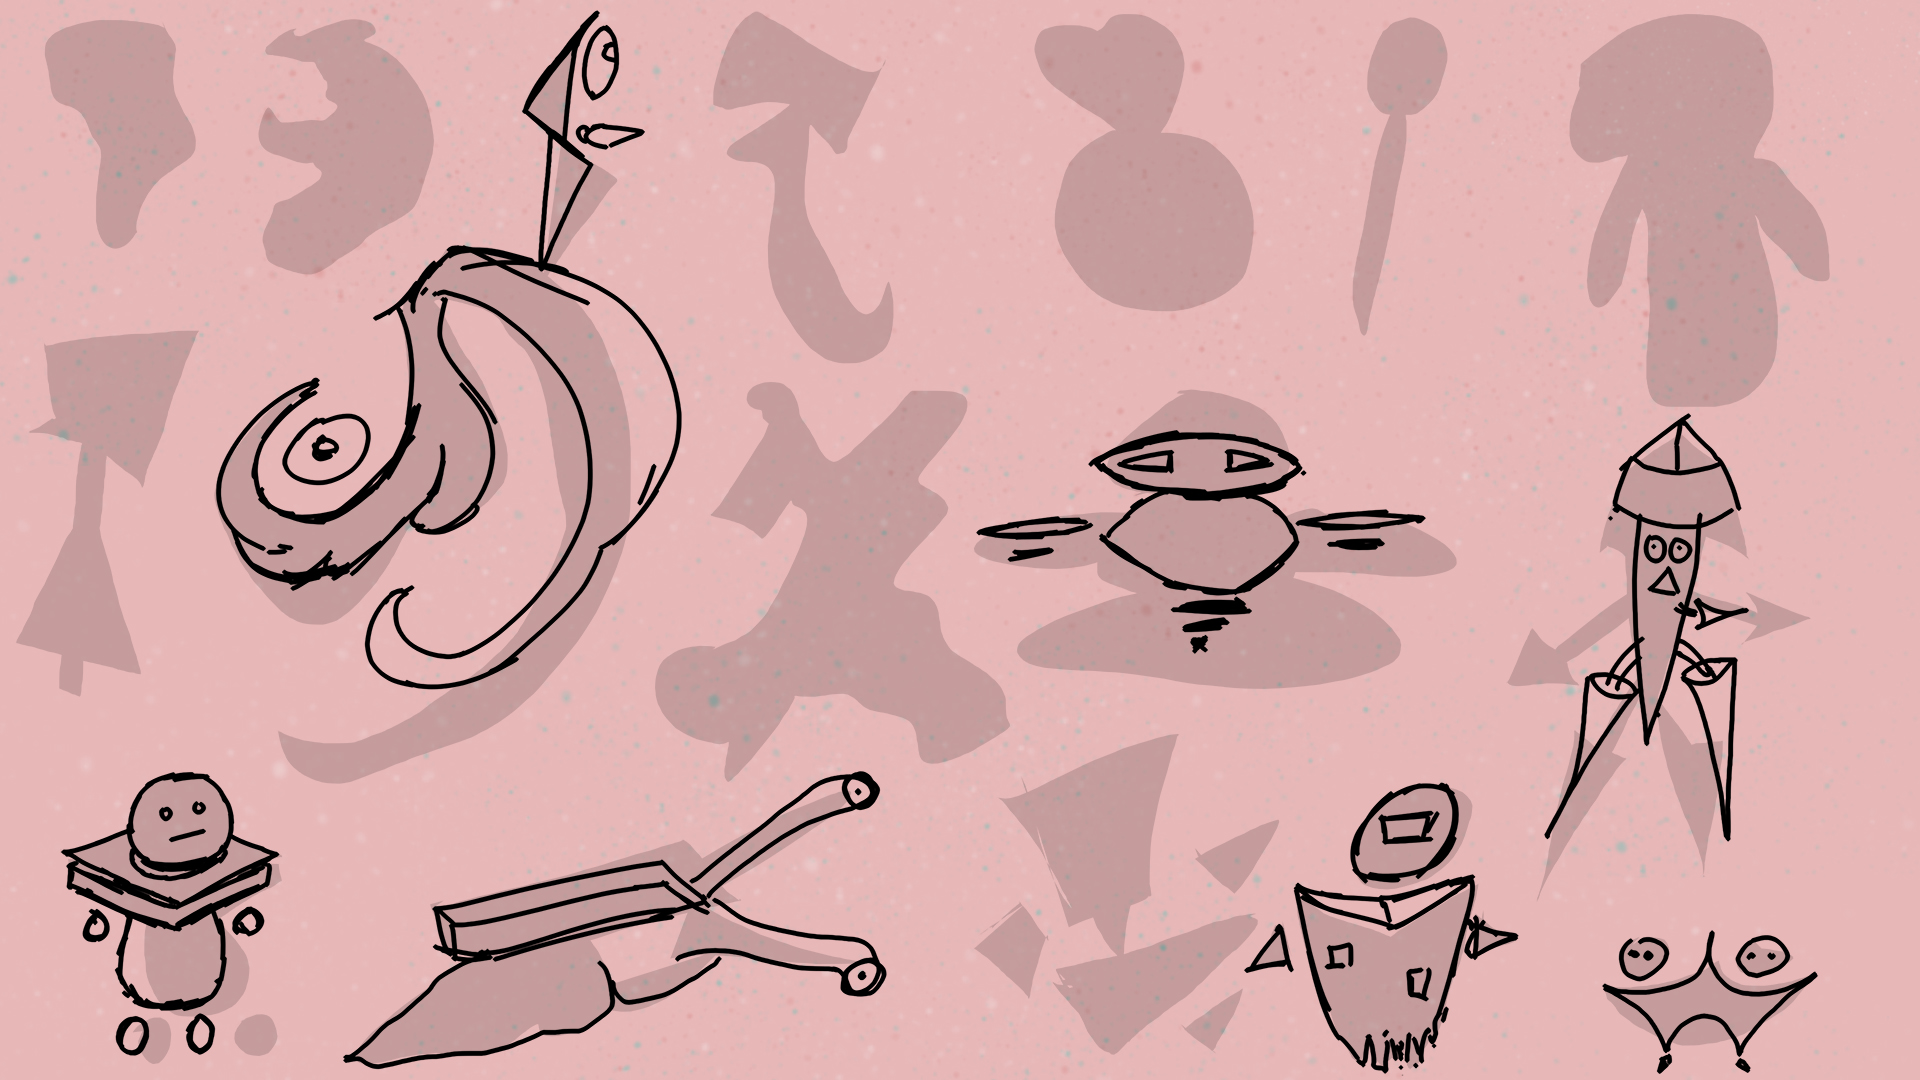
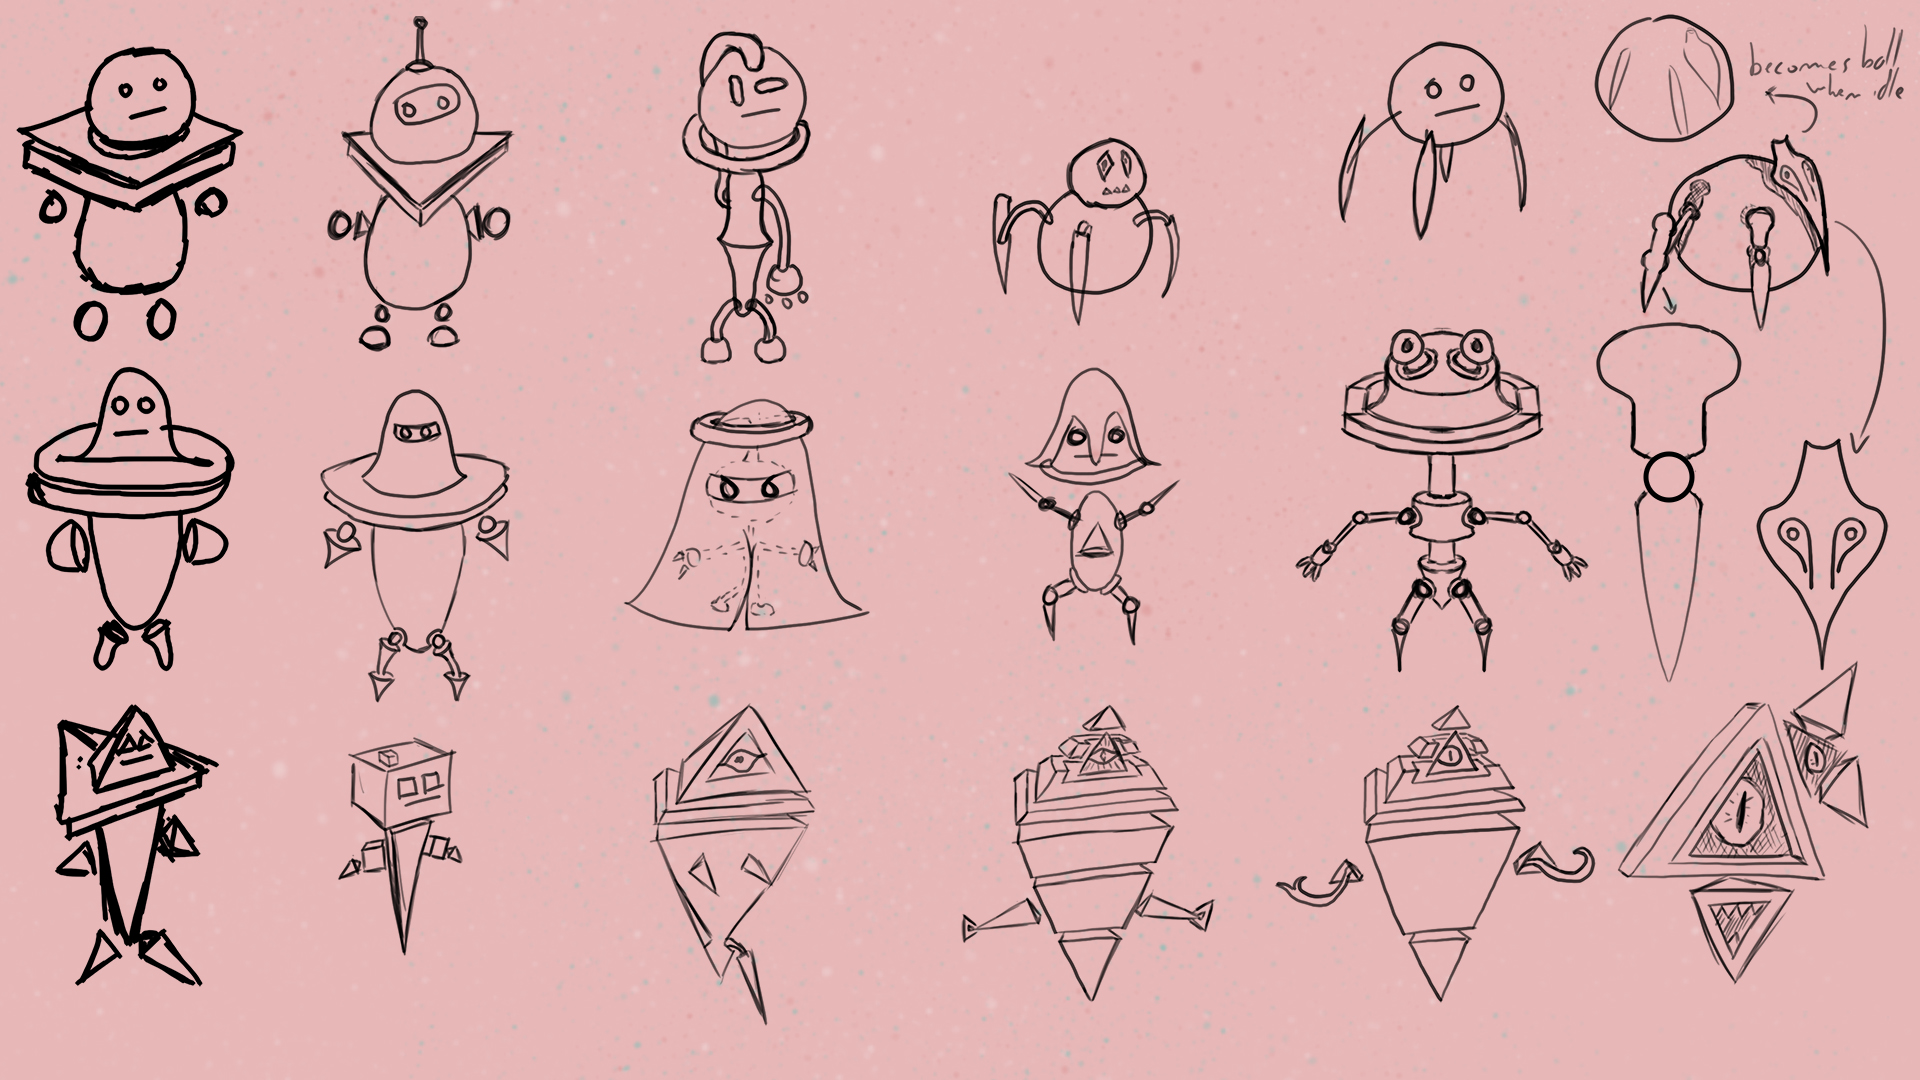
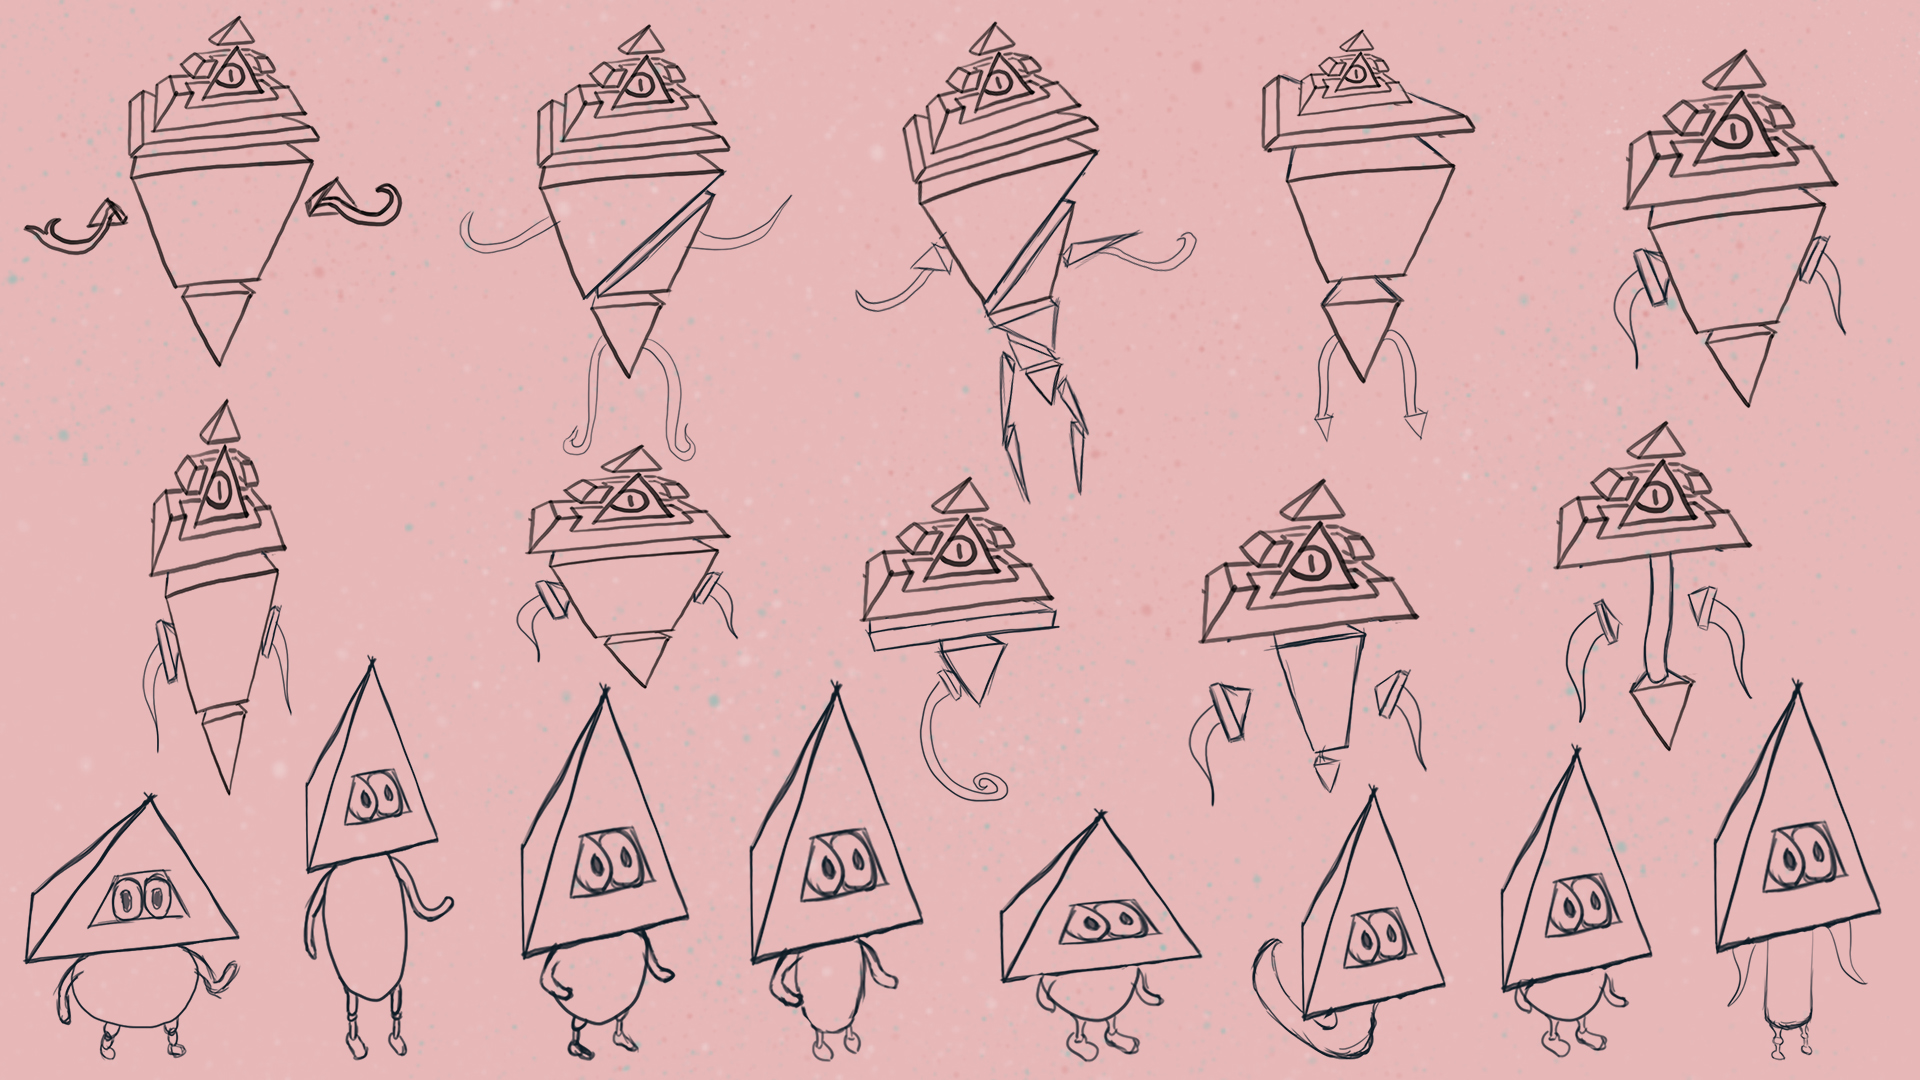
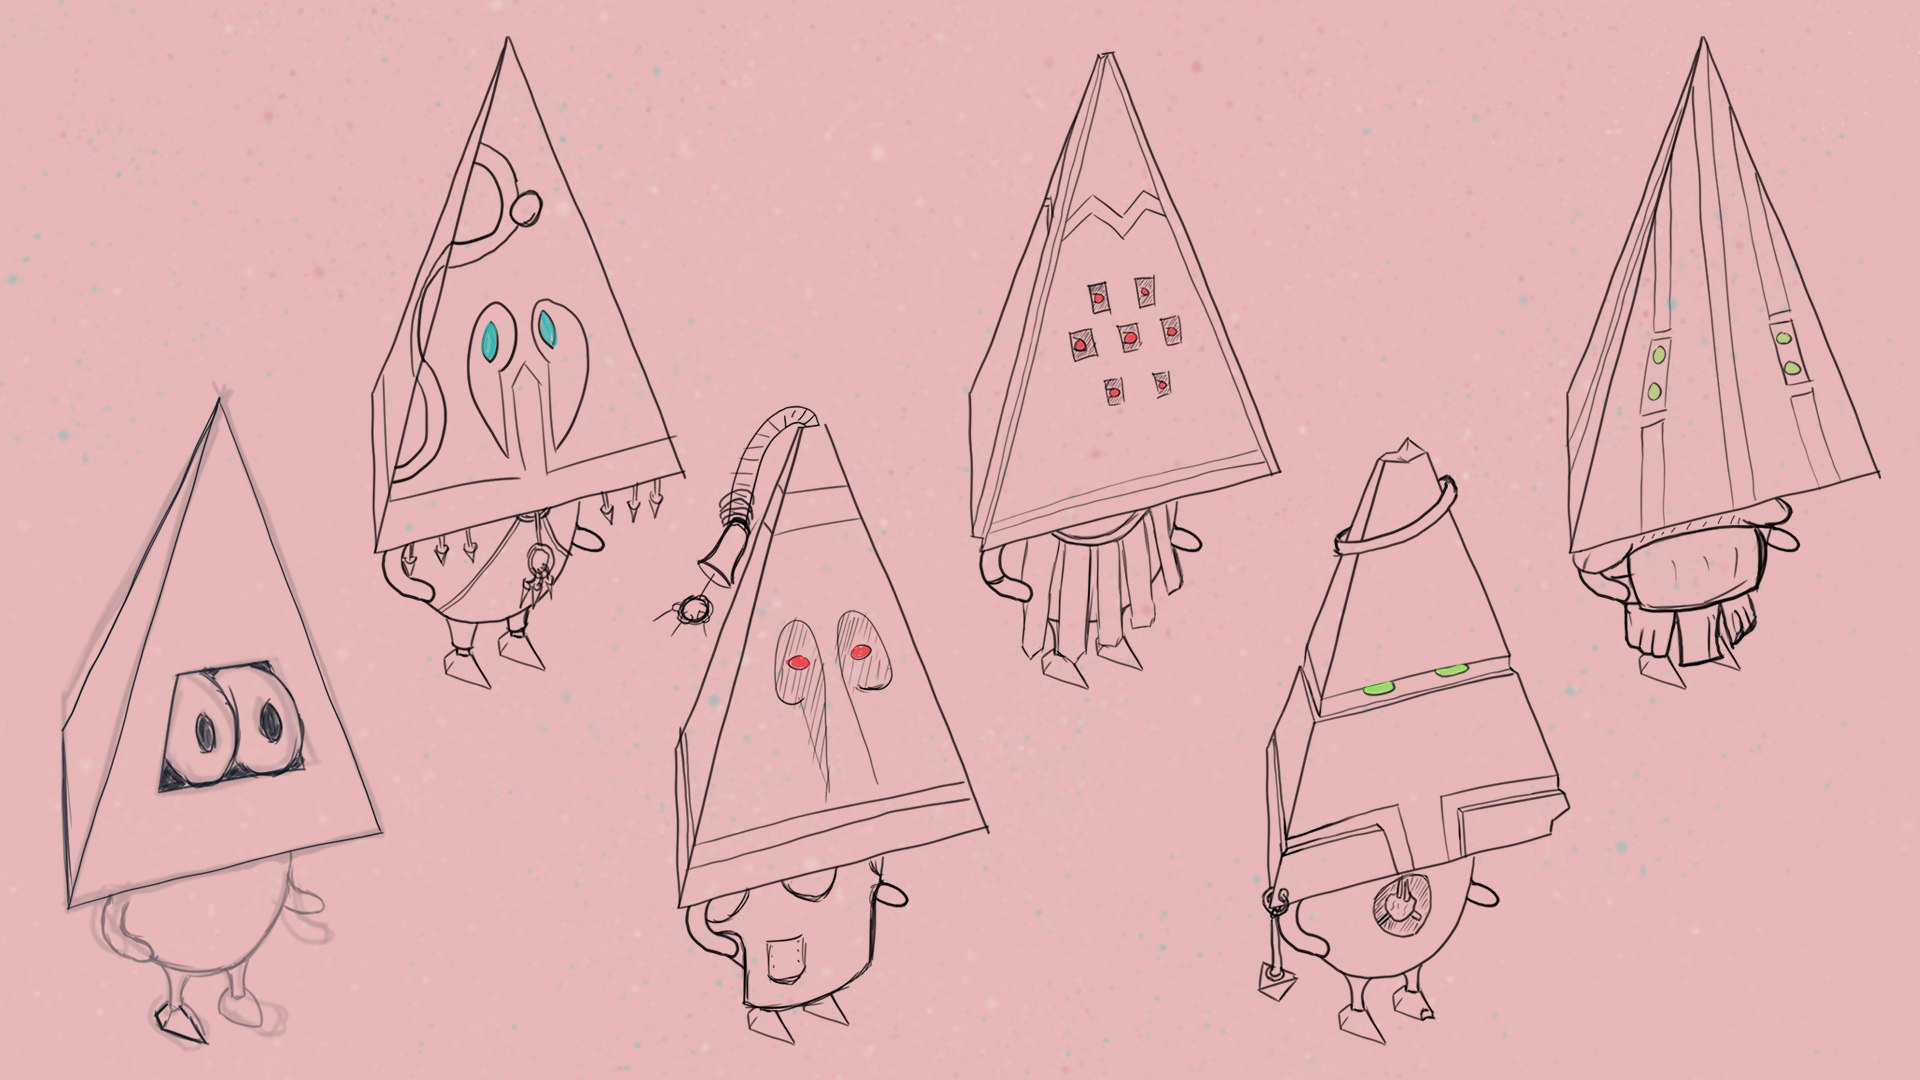
I began by trying silhouette iteration, taking the better from it, and applying horizontal/vertical iteration to them. It got me a step in the right direction; however, I wasn't happy yet. So, I did another round of picking the better sketches and iterating once more. After many iterations, I had finally chosen a figure to expand on.
I iterated a little more to test different faces and clothing for various "professions" the character could have. I did this by sketching them in 3/4 perspective. I decided to have the character be a "Shaman".
Having a 3/4 perspective sketch, I went on to iterate colour schemes for the character. My first iteration set landed me a scheme I liked. I did have to change the body colour later on due to not looking good in the game engine. All that was left was to create a final model sheet to be able to start modelling it in 3D.
Modelling & topology
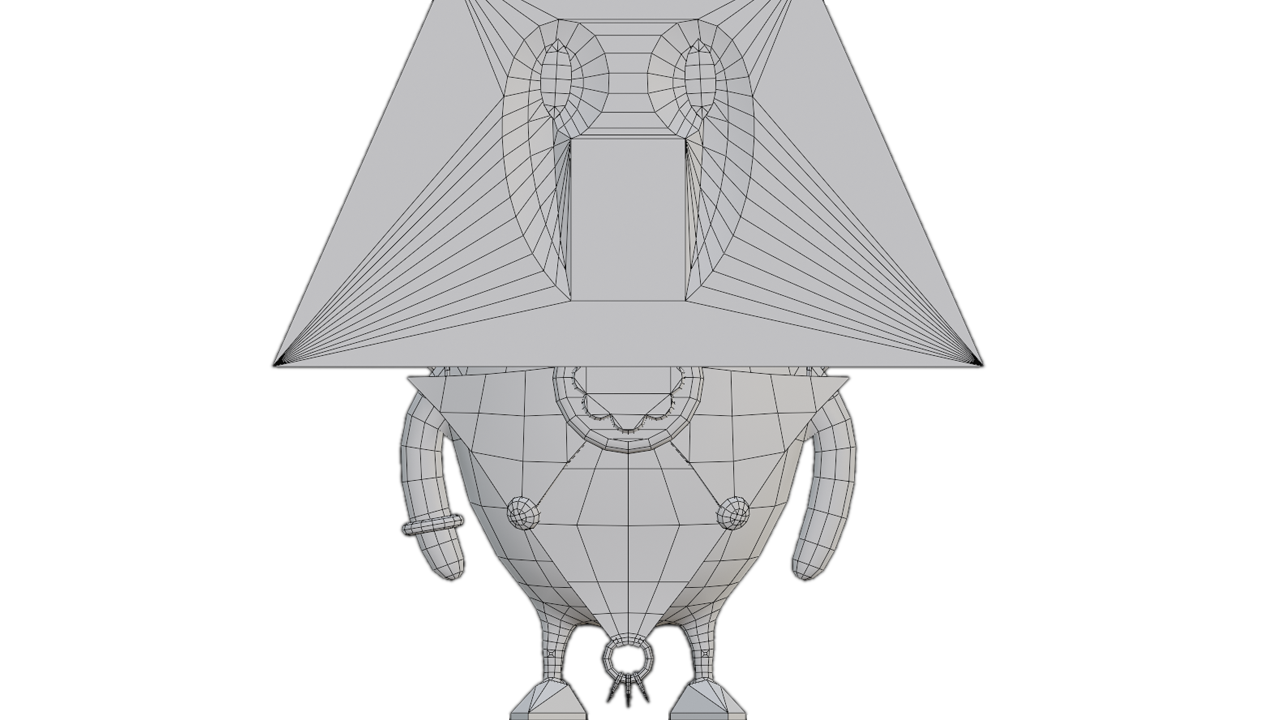
This was going to be my first time modelling a character that was to be animated after. This meant I had to keep a few things in mind: The mesh would need to have proper topology and flow, joints would need to get extra vertices to avoid strange skin behaviour, and I'd be keeping the polycount as low as possible.
Using the model sheet as base, I quickly built up a block-out 3D model. The block-out model matched the design of the drawing perfectly, so I retopologized it to fit my needs. I added the details and clothing, did a mesh clean-up, and fixed some small topology issues. Model done!
Rigging & Skinning
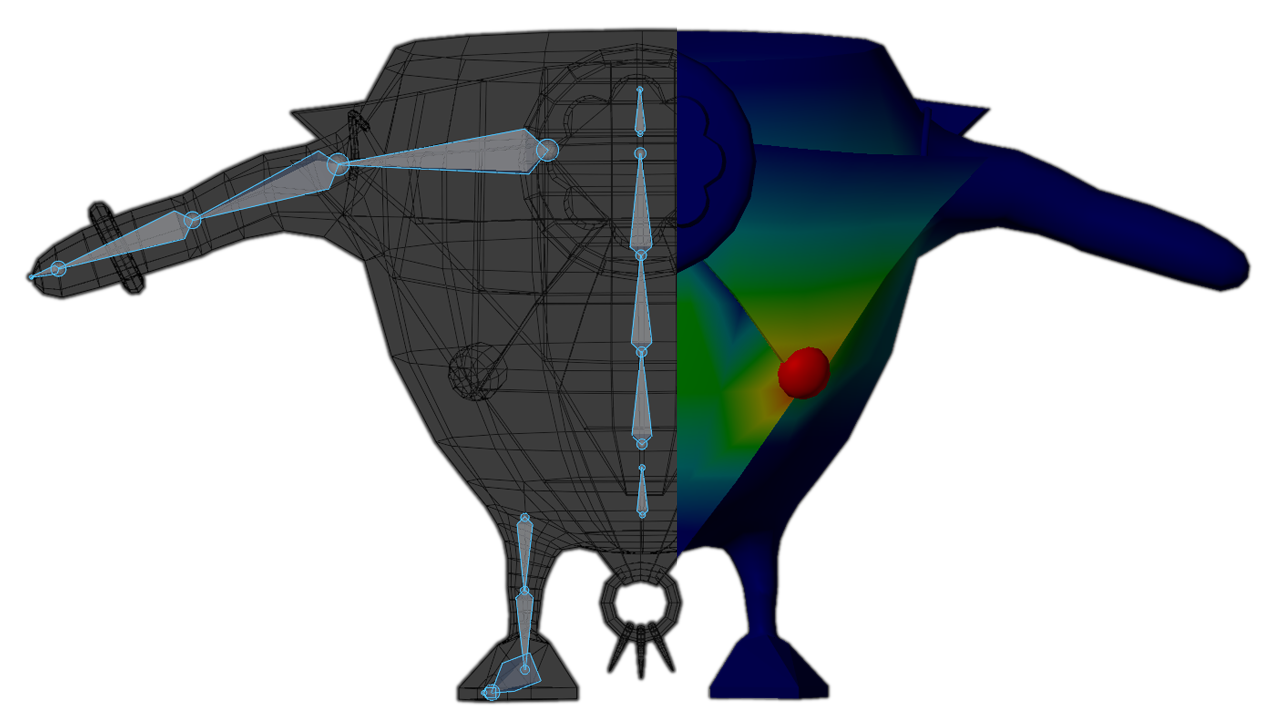
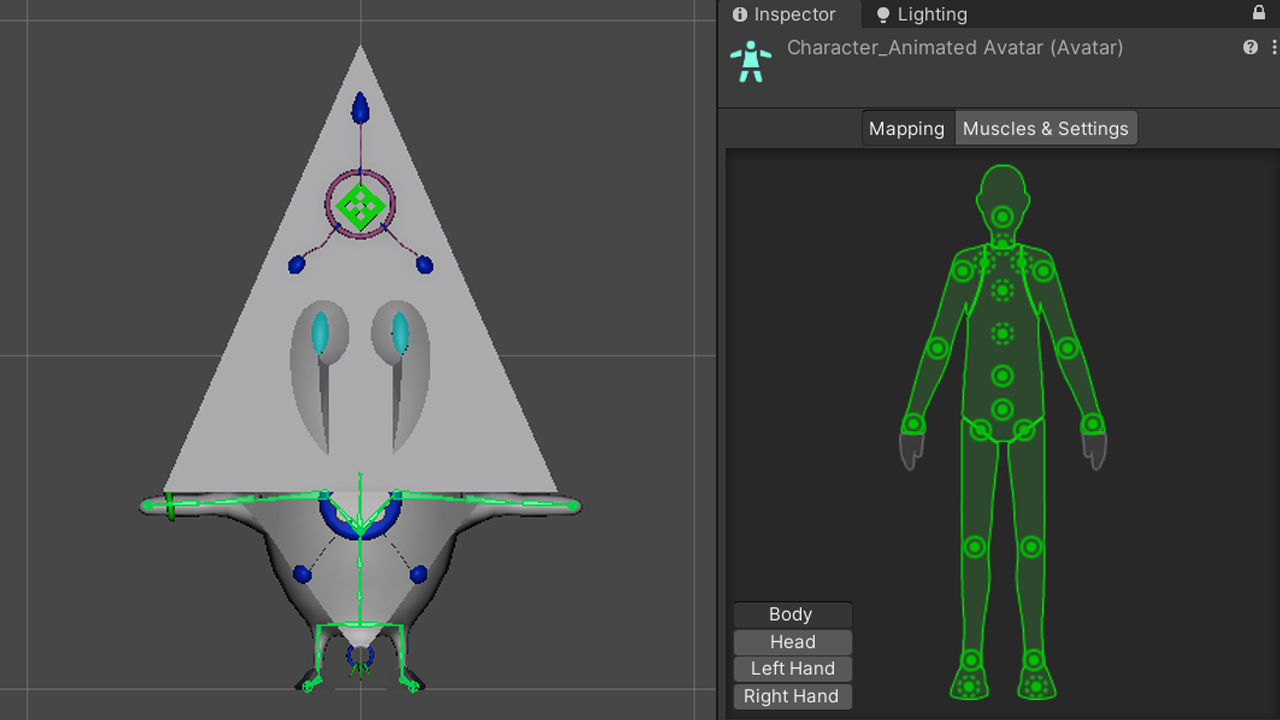
To rig the character, I started with the hip bone as the root. I added the thigh bones and the spine bone as children. From there, I added shin, foot, toe, shoulder, arm, neck, head, and hand bones to their logical parent bones. After some tweaking, I tested and cleaned the rig to wrap up. This was a simple rig without considering IK/FK. (a decision that would come to cost me in the animating process)
In order to get the rig to influence the mesh, I needed to skin the rig. I decided to manually weight-paint each bone's influence on the mesh. This took a lot of tweaking to keep odd skin deformations to a minimum.
Animating
Animations are very straightforward: set bone transformations using keyframes based on the intended action's key poses. Blender is a dream to work in to do this; however I made it myself very difficult as I forgot to think about IK/FK when I was rigging.
This did not make it impossible to animate; however, I soon realised this was going to take too much time. As time was running out, I decided to go to Mixamo for a set of animations to adapt to my character. Mixamo usually works well for humanoids, but this character was a little off-proportion. Still, adapting the Mixamo rig was faster than self-animating the character.
Importing in Unity
Importing the character with the rig and animations wasn't quite as easy as I'd hoped it would be. Starting with a faulty character controller package, I wasted some time on fixing a rig that worked correctly (Good lesson for the future). Using a different controller, the rig worked fine and animations did what they had to.
The only issue was, the character's head looked as if it came straight out of a cheap horror film. Bent and twisted in strange ways, and horribly mis-matching the animations. It turns out it's caused by a bone that the import failed to map. Remapping the head bone, and the character was ready to be played!
